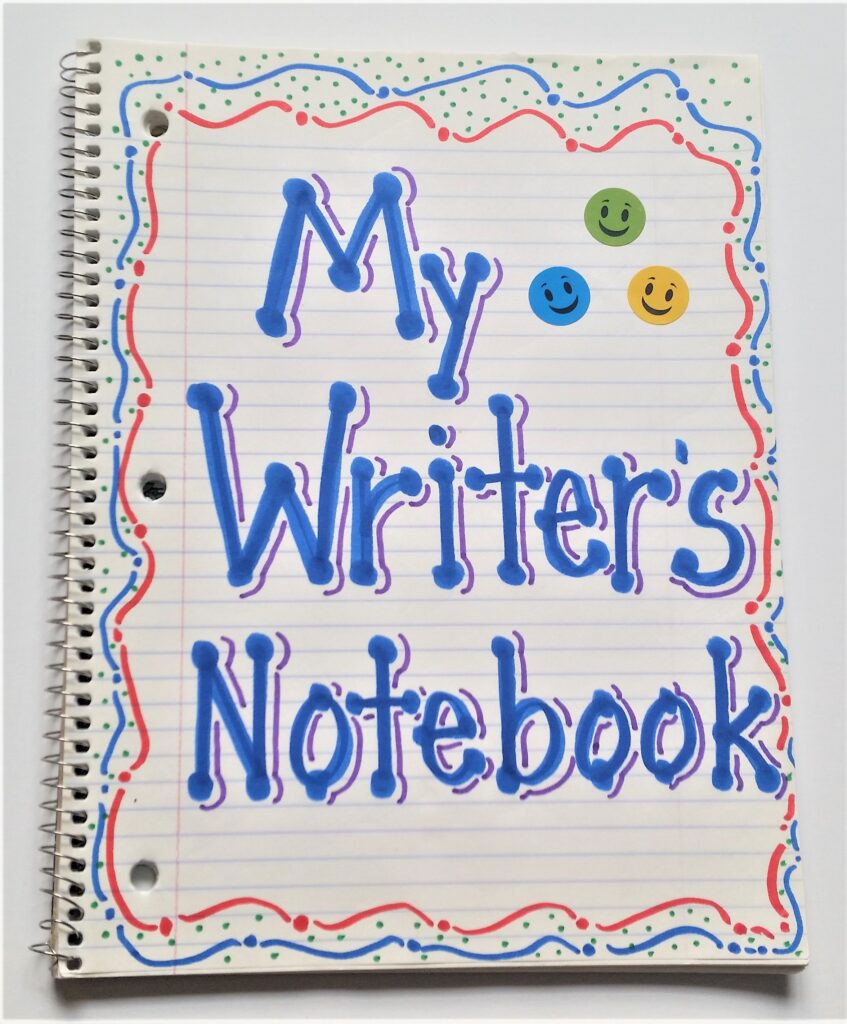
A good one-off activity for the first week of school is to have your students personalize their writer’s notebooks as they learn the routines and procedures of your classroom. It is one way to ease students into their new learning environment and to get ready for writing. Encourage your students to personalize their notebooks in a way that is pleasing to them. The aim is for students to see their notebooks as valuable treasures! Some students may choose to buy notebooks that already have fancy covers. During this activity, they can do step 6.
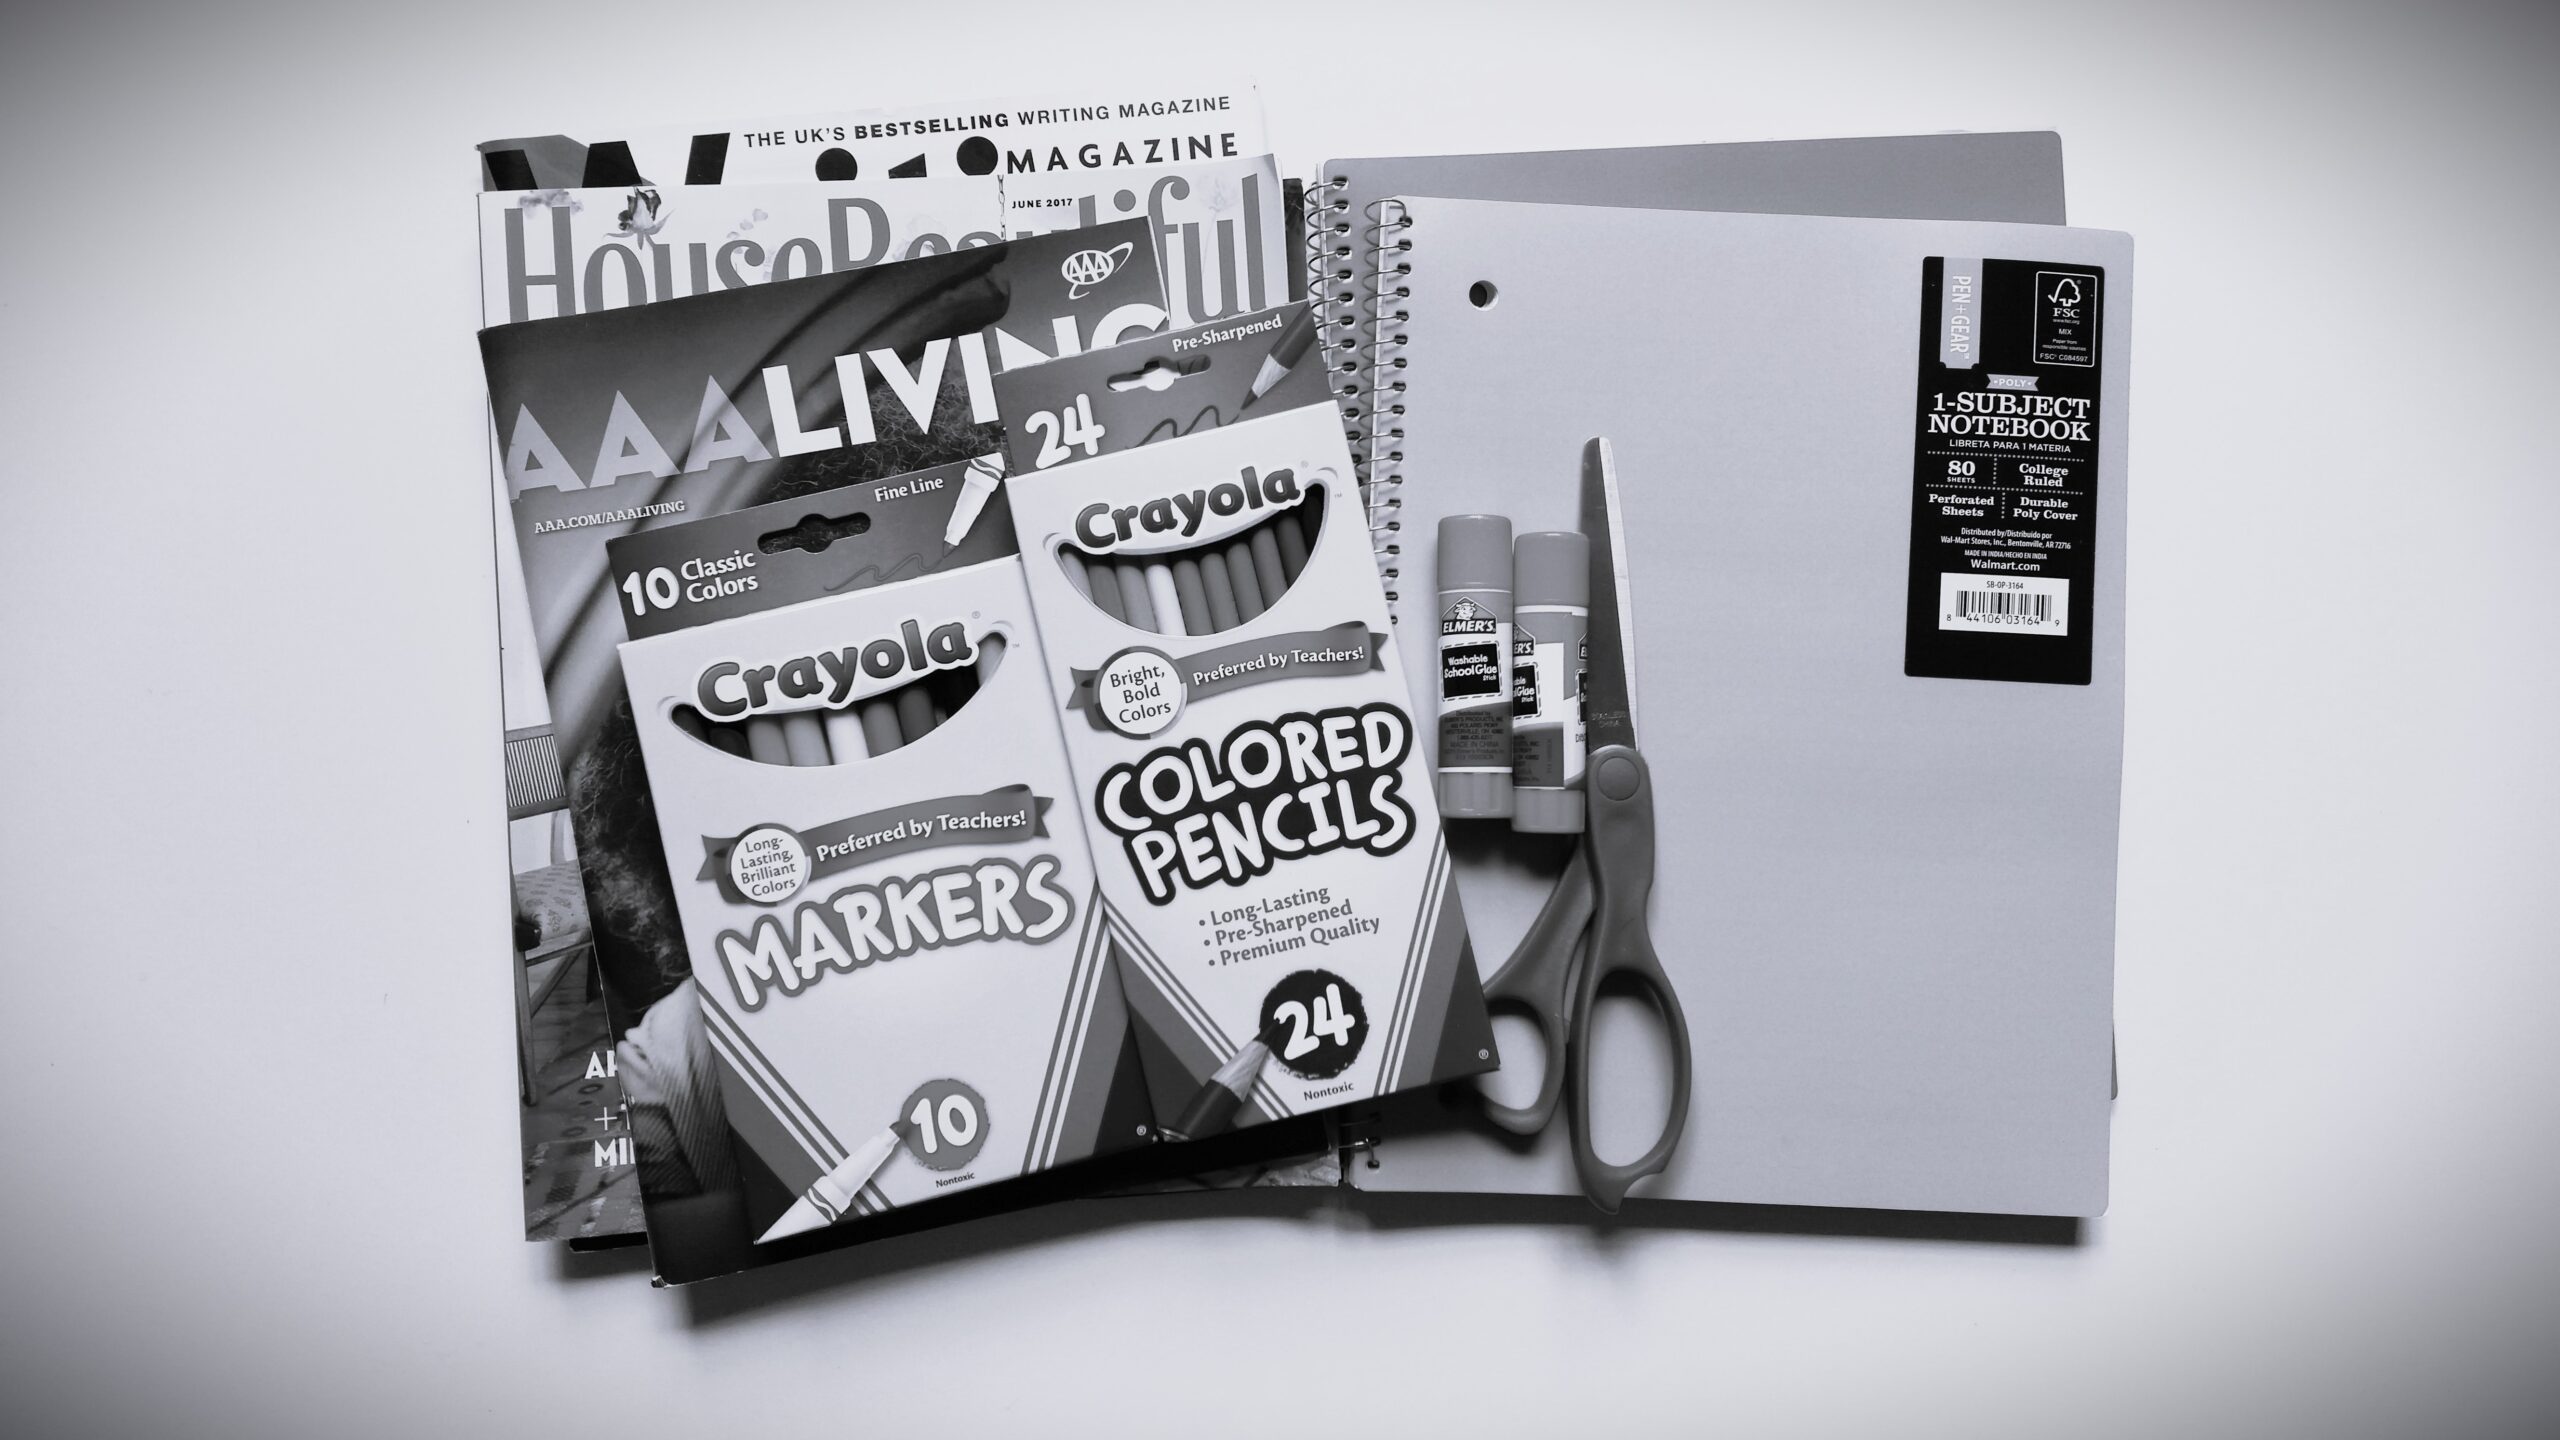
Step 1. You will need enough supplies for all the students in your class. You will need: glue, scissors, magazines, color markers, colored pencils, and notebooks for students who do not have their own. It might be that you are giving notebooks to all of your students. Try to have extra notebooks available for newcomers. Remember, some students may choose to bring in their own store bought decorated notebooks.
Step 2. Students can be encouraged to bring in personal pictures, stickers, etc. that they would like to use to personalize their notebooks. If you do not have enough magazines before the activity, you can check to see if any of your students can bring some from home.
Step 3. I recommend telling your students to personalize only the front of their notebooks. This will mean you will use less clear contact paper on each notebook. (Think budget!)
Step 4. Once students have chosen their pictures, they should make sure they are cut out neatly, arranged on the cover and all the edges are glued down. If students do these three things, it will save you a lot of time when you are covering the books with clear contact paper which is sticky.
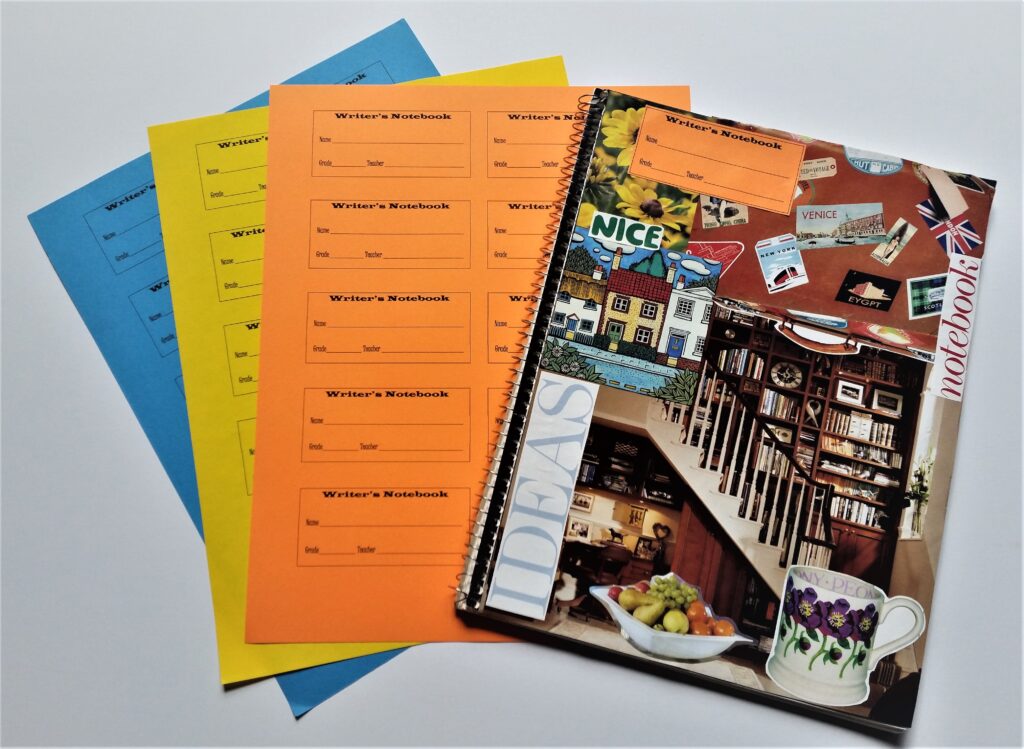
Step 5. Once students have finished, give each one a label to put on the cover of their book. If you are working with more than one class, it is a good idea to color code them according to grade levels. This will make student and grade level identification much easier for you. Next, cover the covers with clear contact paper. I recommend doing this because if the covers are left unprotected, they will become tatty looking within a very short space of time. Remember, we want students to treasure their notebooks!
Step 6. If a student has a store-bought decorated notebook cover design that they like, during the lesson they can work on designing a title page on the first page of the inside of their notebook. This does not have to be done by all students; it is intended to make sure that everyone is engaged during the activity.
Happy Decorating!
Sonia
P.S. Feel free to download this PDF of Writer’s Notebook Labels


Wonderful tips for busy parents to help navigate the first weeks of school. Very helpful practical tips. A must read for all parents.