Category Archives: Writer’s Notebook

Building Elementary Writing Muscles

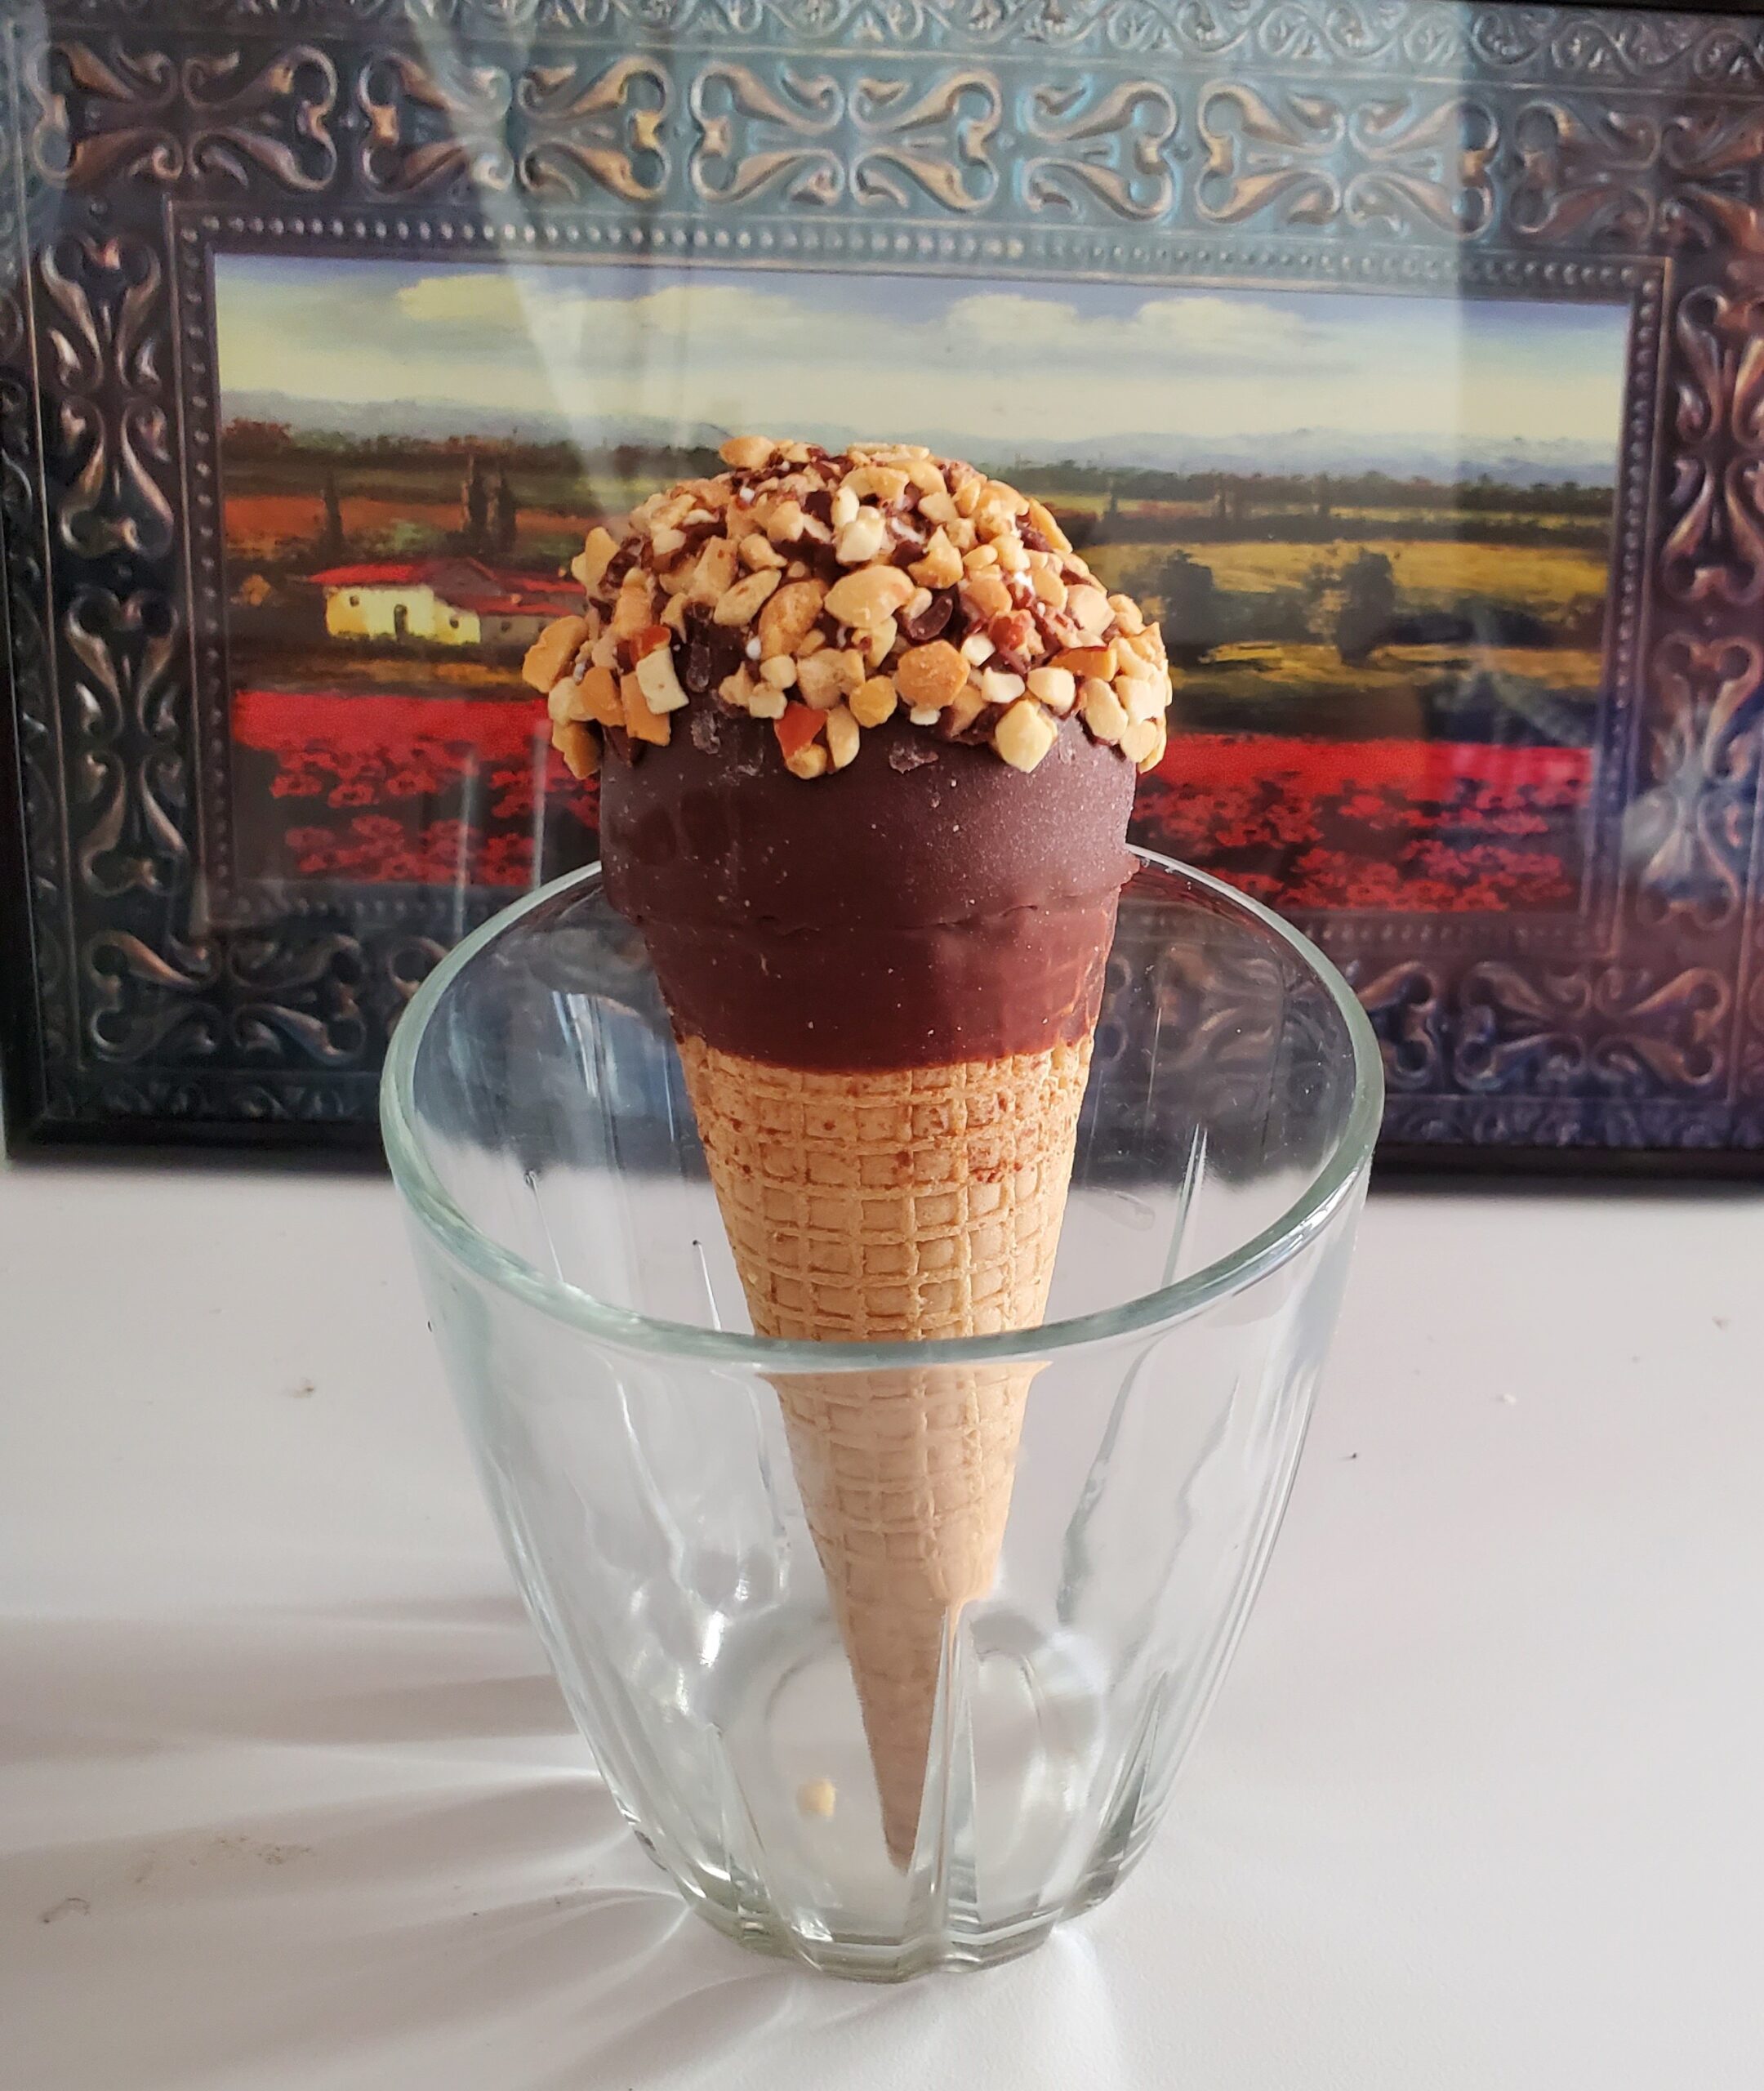
A visual writing prompt.

To help elemenatry students develop their writing muscles, early in the school year I introduce our daily sessions of 10 minutes of uninterrupted writing time. This is a very simple, yet effective strategy that can help students become comfortable with writing. I am all about helping students get over the hump of being reluctant writers! Our uninterrupted writing time leads into our main writing time.

I know that there are students who are already keen writers who will take the initiative to write independently and jump into a writing assignment as soon as it is given. This short burst of writing time is for all students, but especially for those who either struggle with writing, lack writing confidence, or just simply do not enjoy writing.
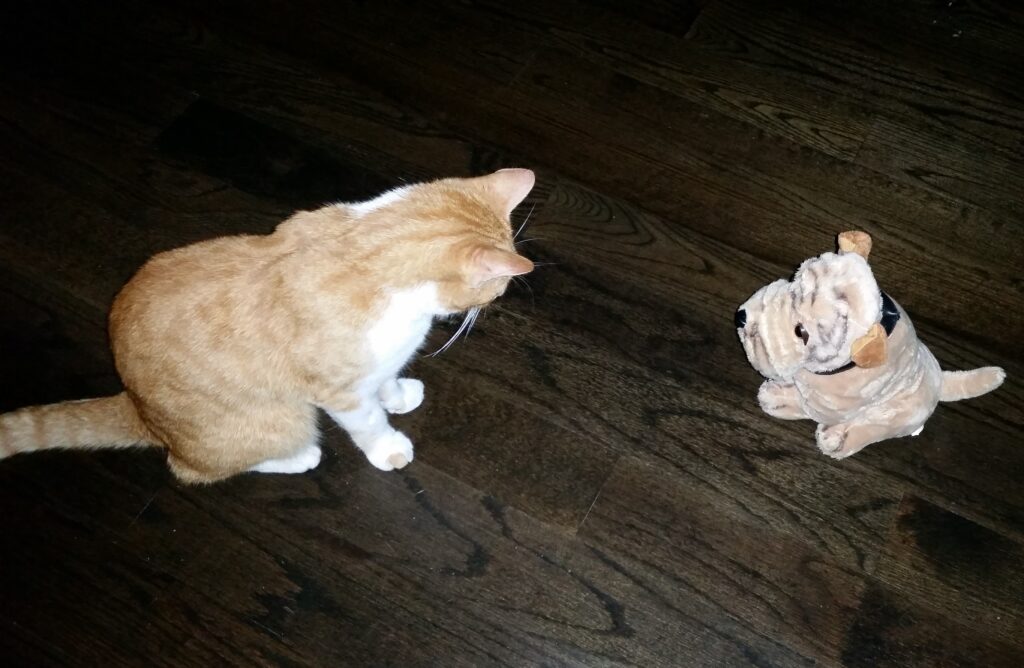
A visual writing prompt.

For the 10 minutes of uninterrupted writing time, students write on a self-selected topic. Before we start, I will remind them to consult the list of writing ideas that they generated on a previous day. As this is not writing that is intended for grading, students can have fun with it! Now, I have had a student say to me, “I don’t know what to write about!”, even after looking at their list. In response, I would say, they should write that they don’t know what to write about as many times as they can until an idea pops into their head. I know this sounds silly, but I have found that it does work! Students start out thinking it’s funny to write this silly sentence, but it is surprising how an idea will surface.

As students will be writing every day on a self-selected topic, they will either write something new each day or they will continue with a previous piece of writing. Either is fine as the intention is for students to be actively engaged in their writing, to stay focus for 10 uninterrupted writing minutes, and to build their writing muscles.
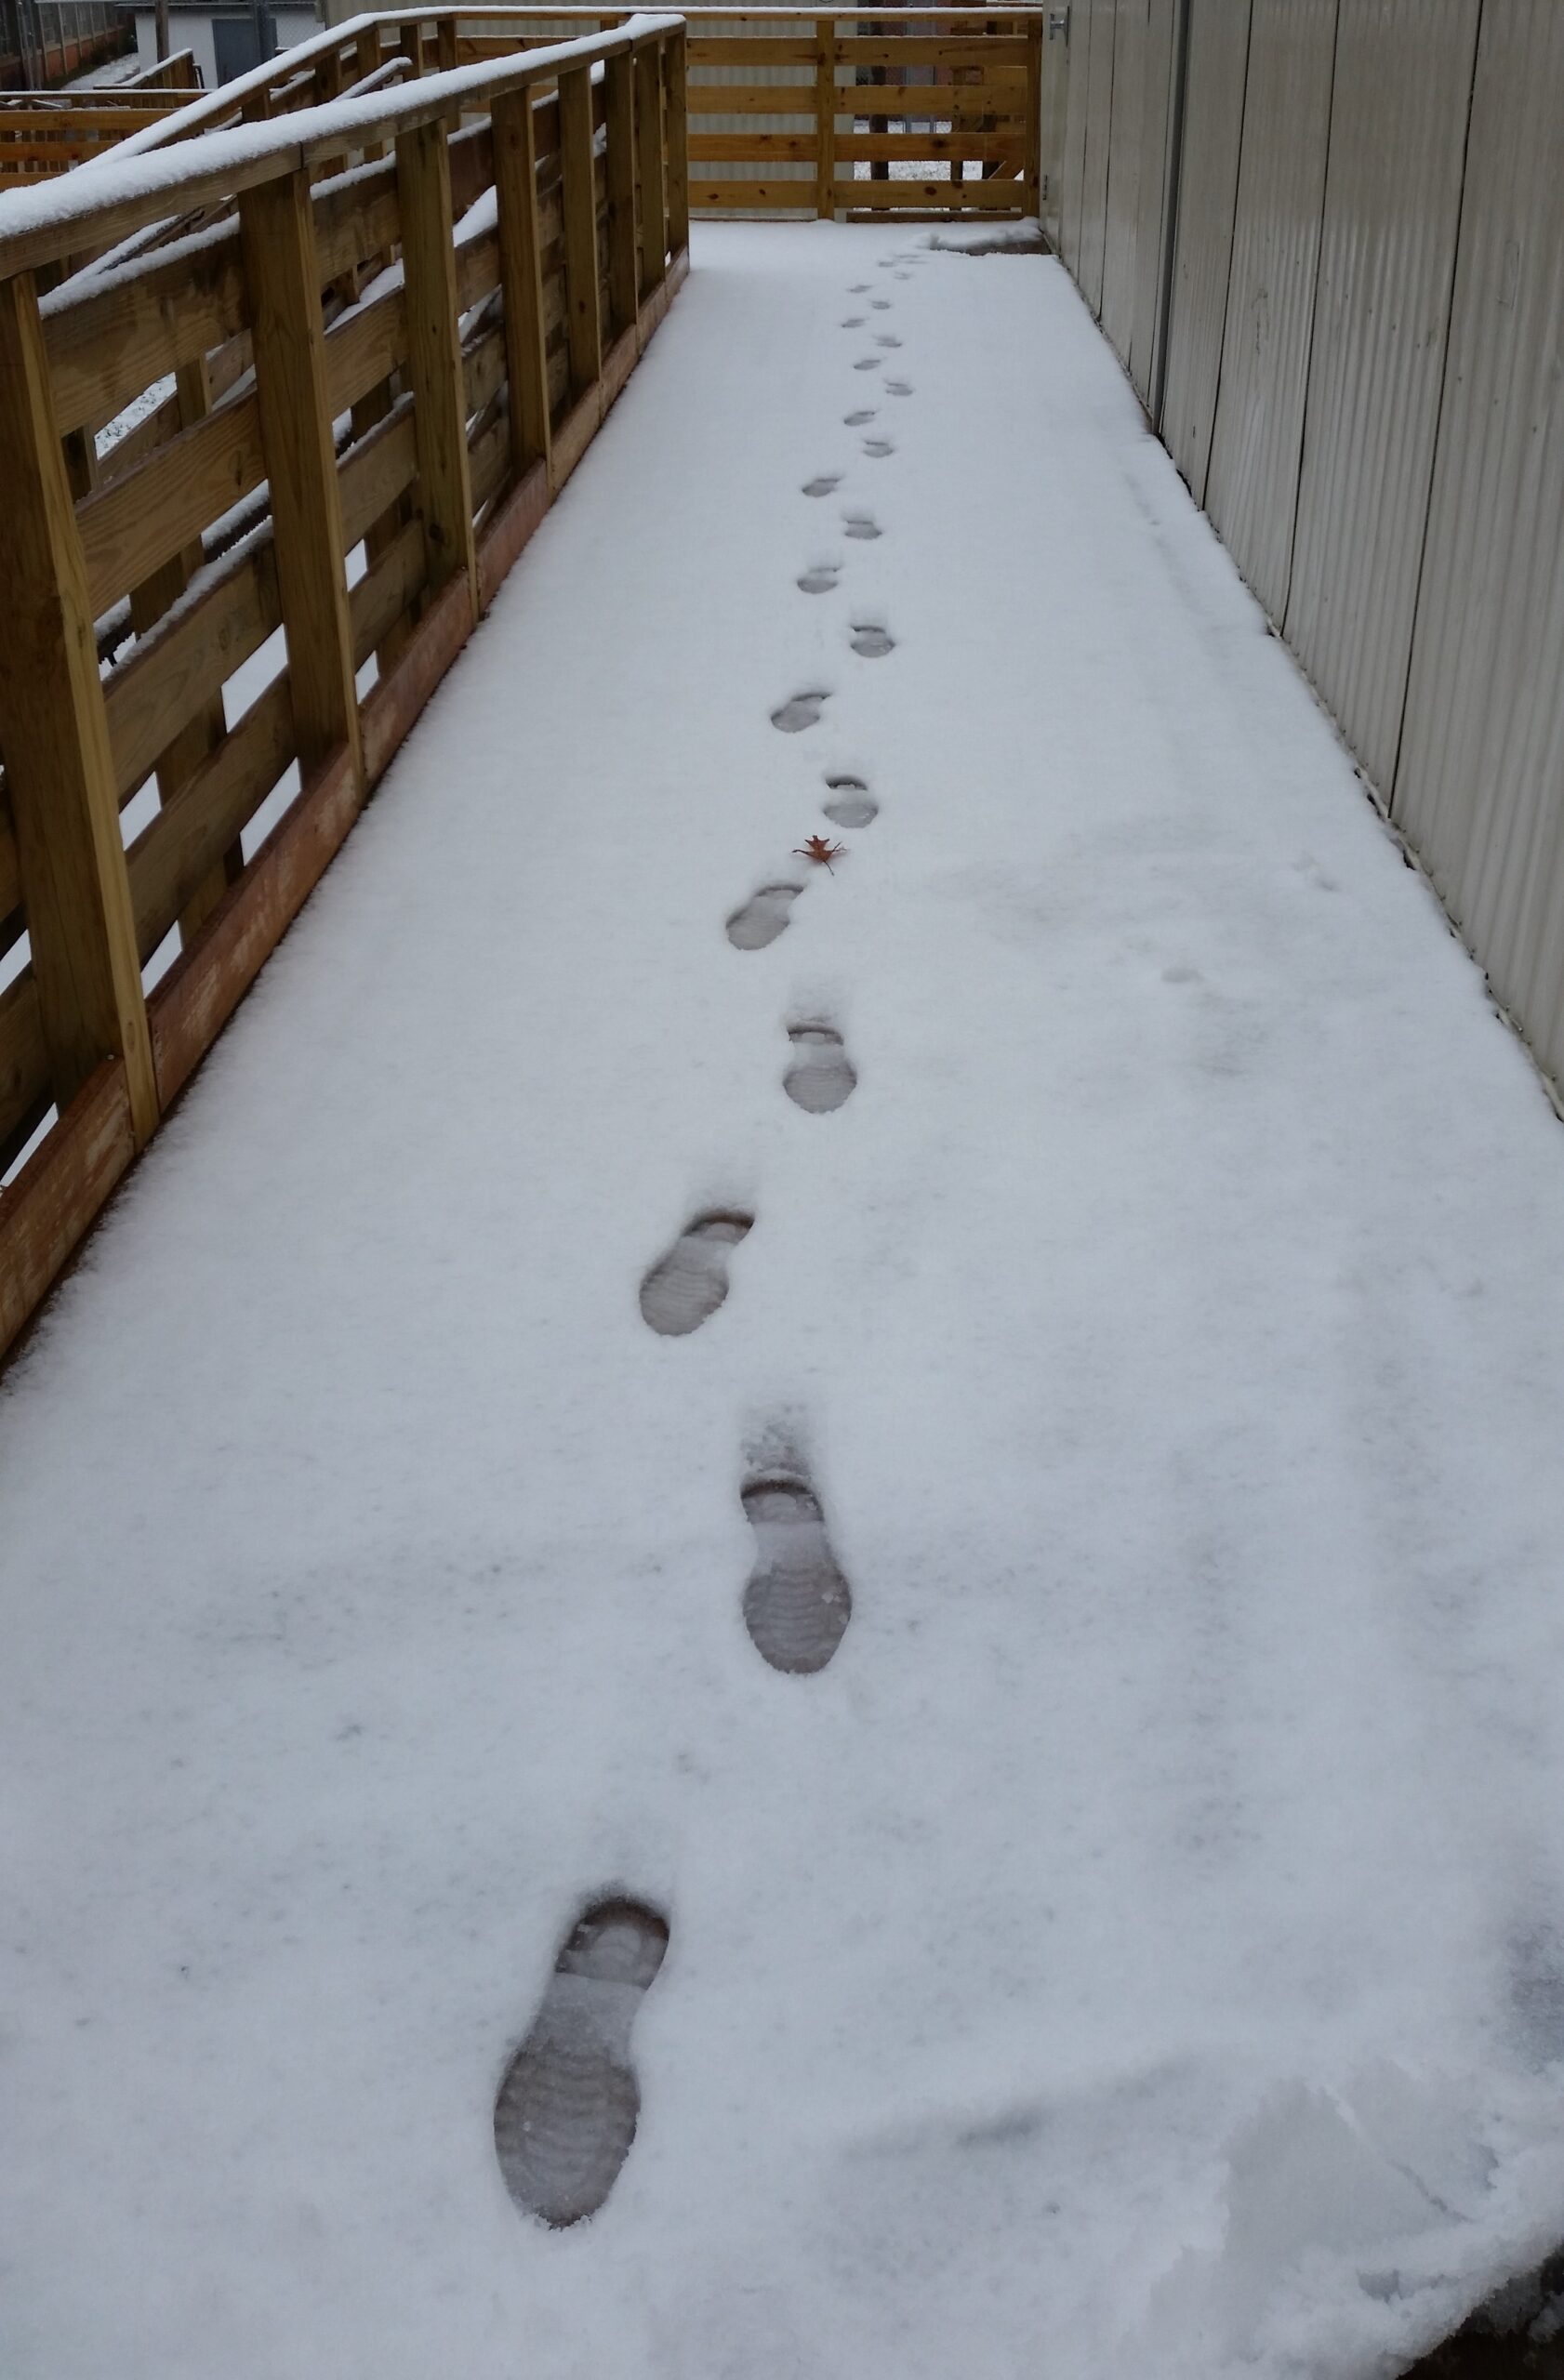
A visual writing prompt.

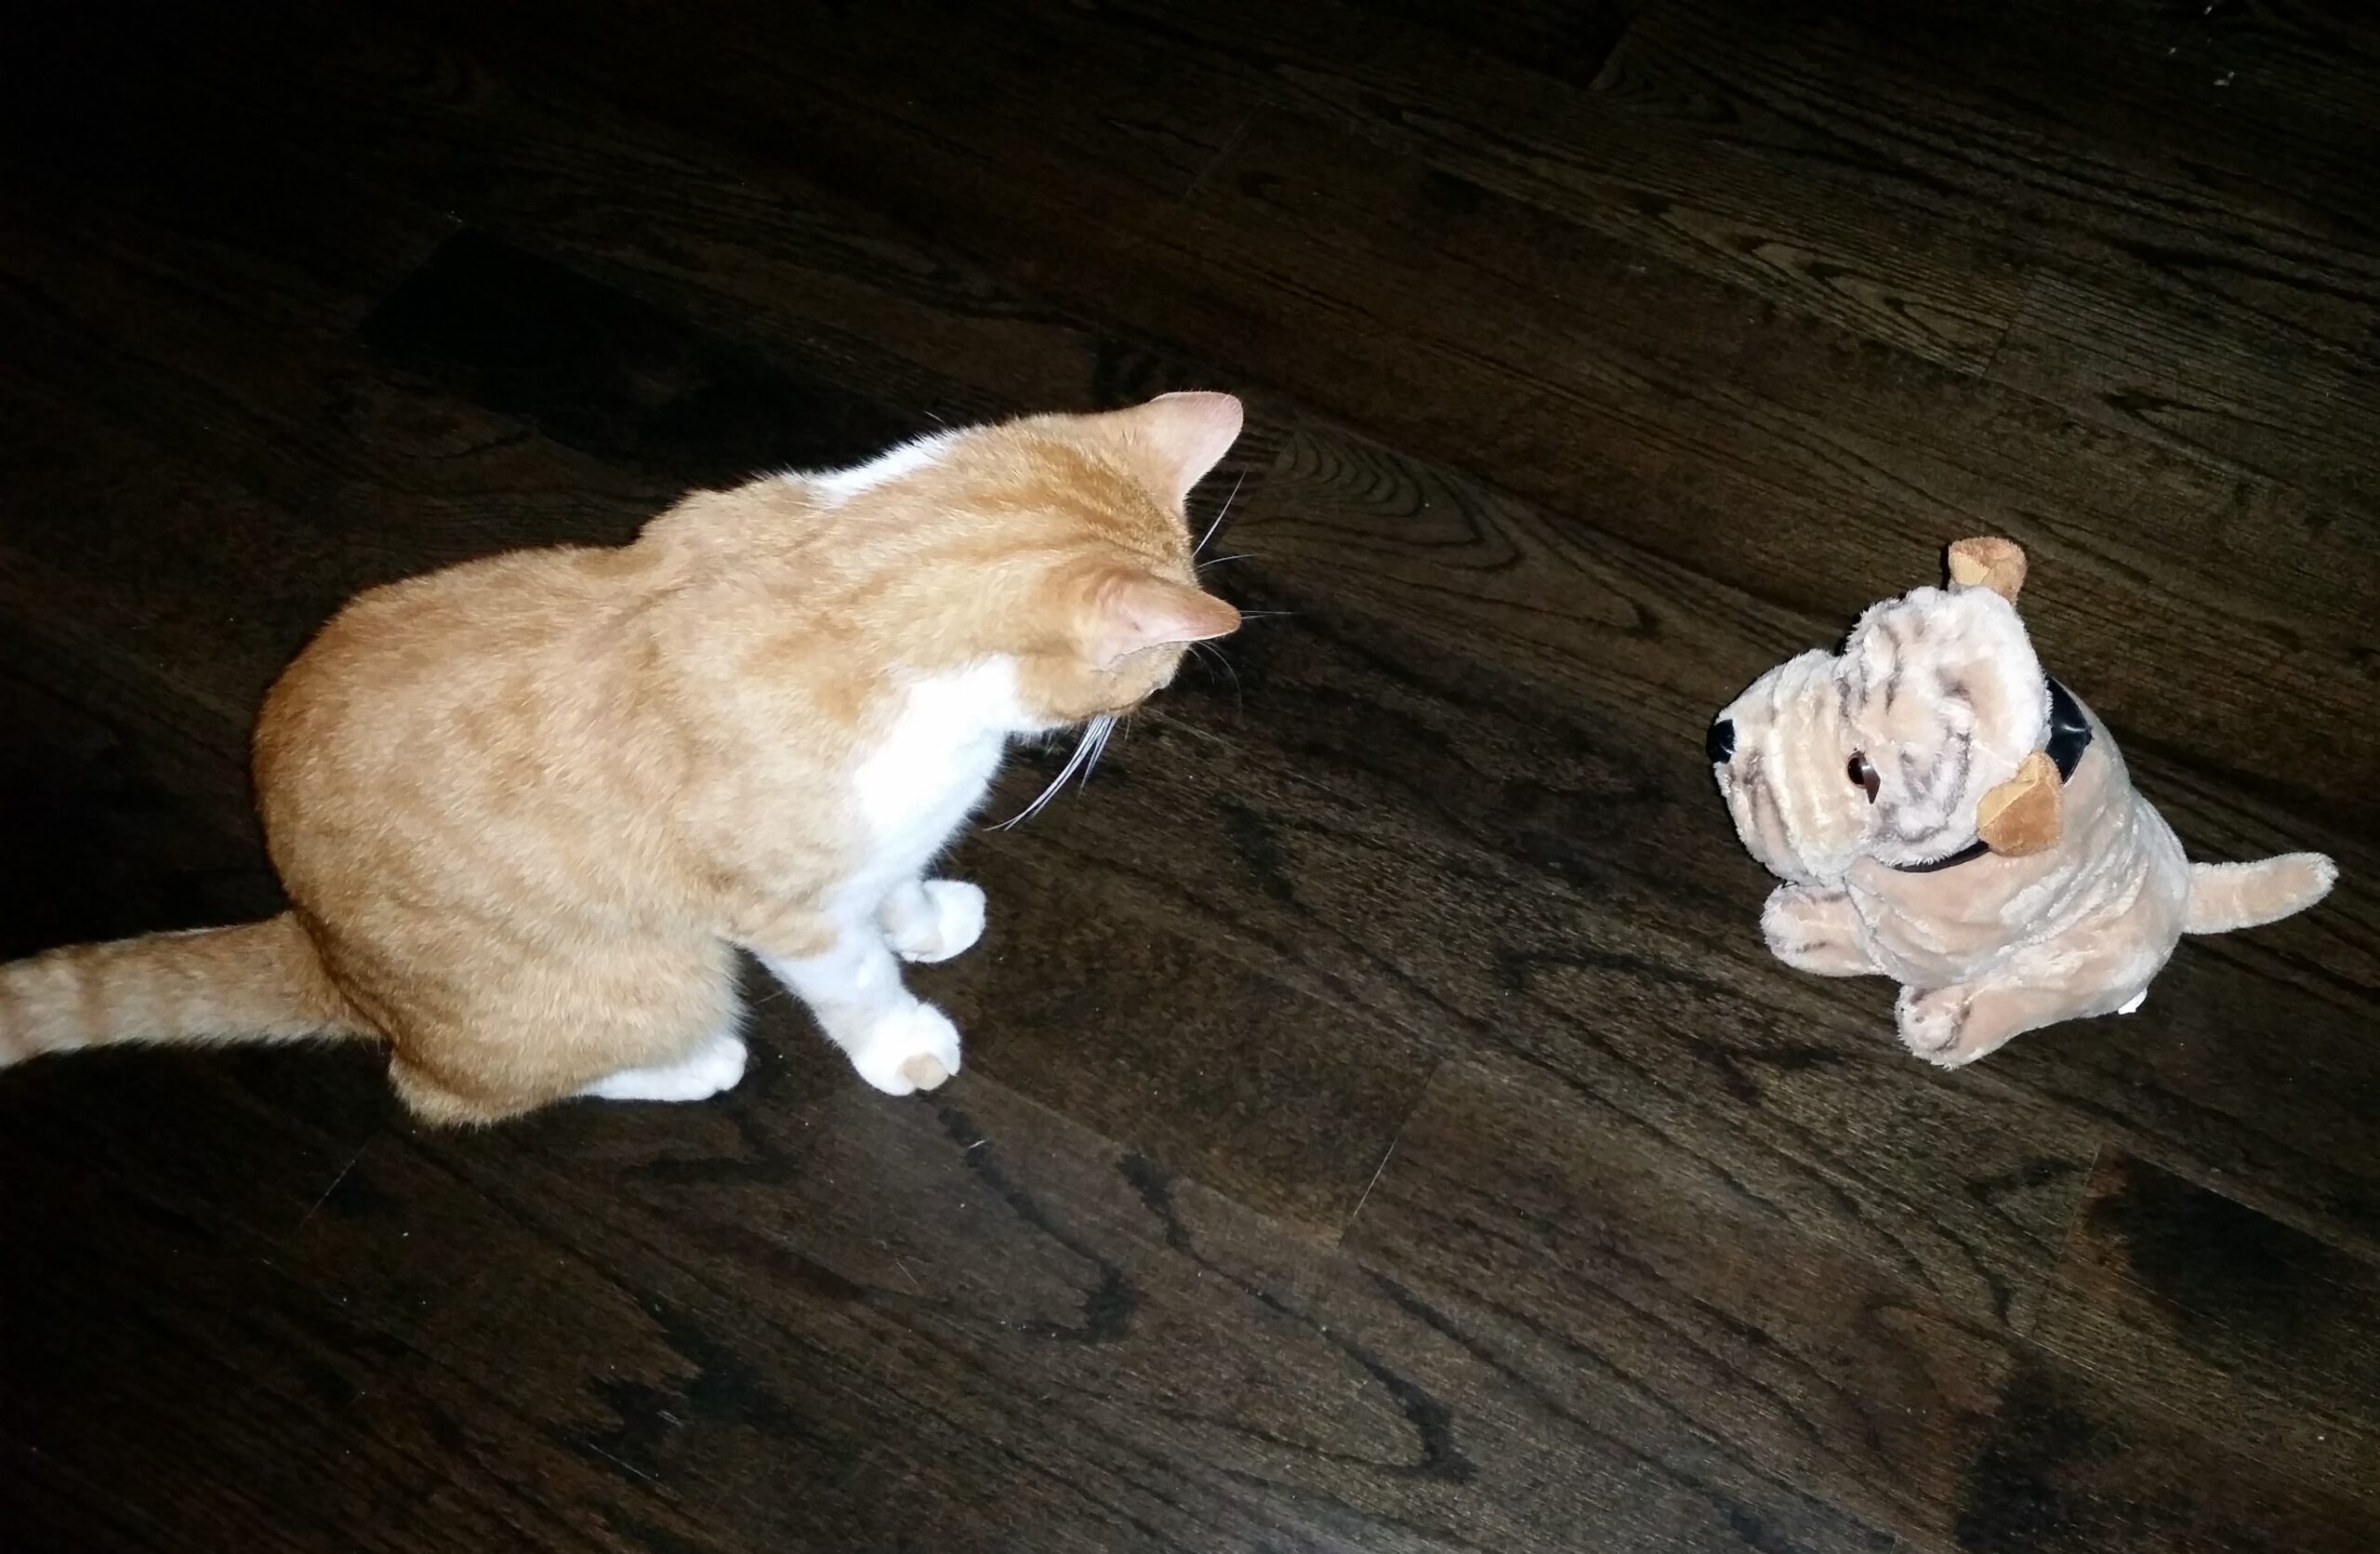
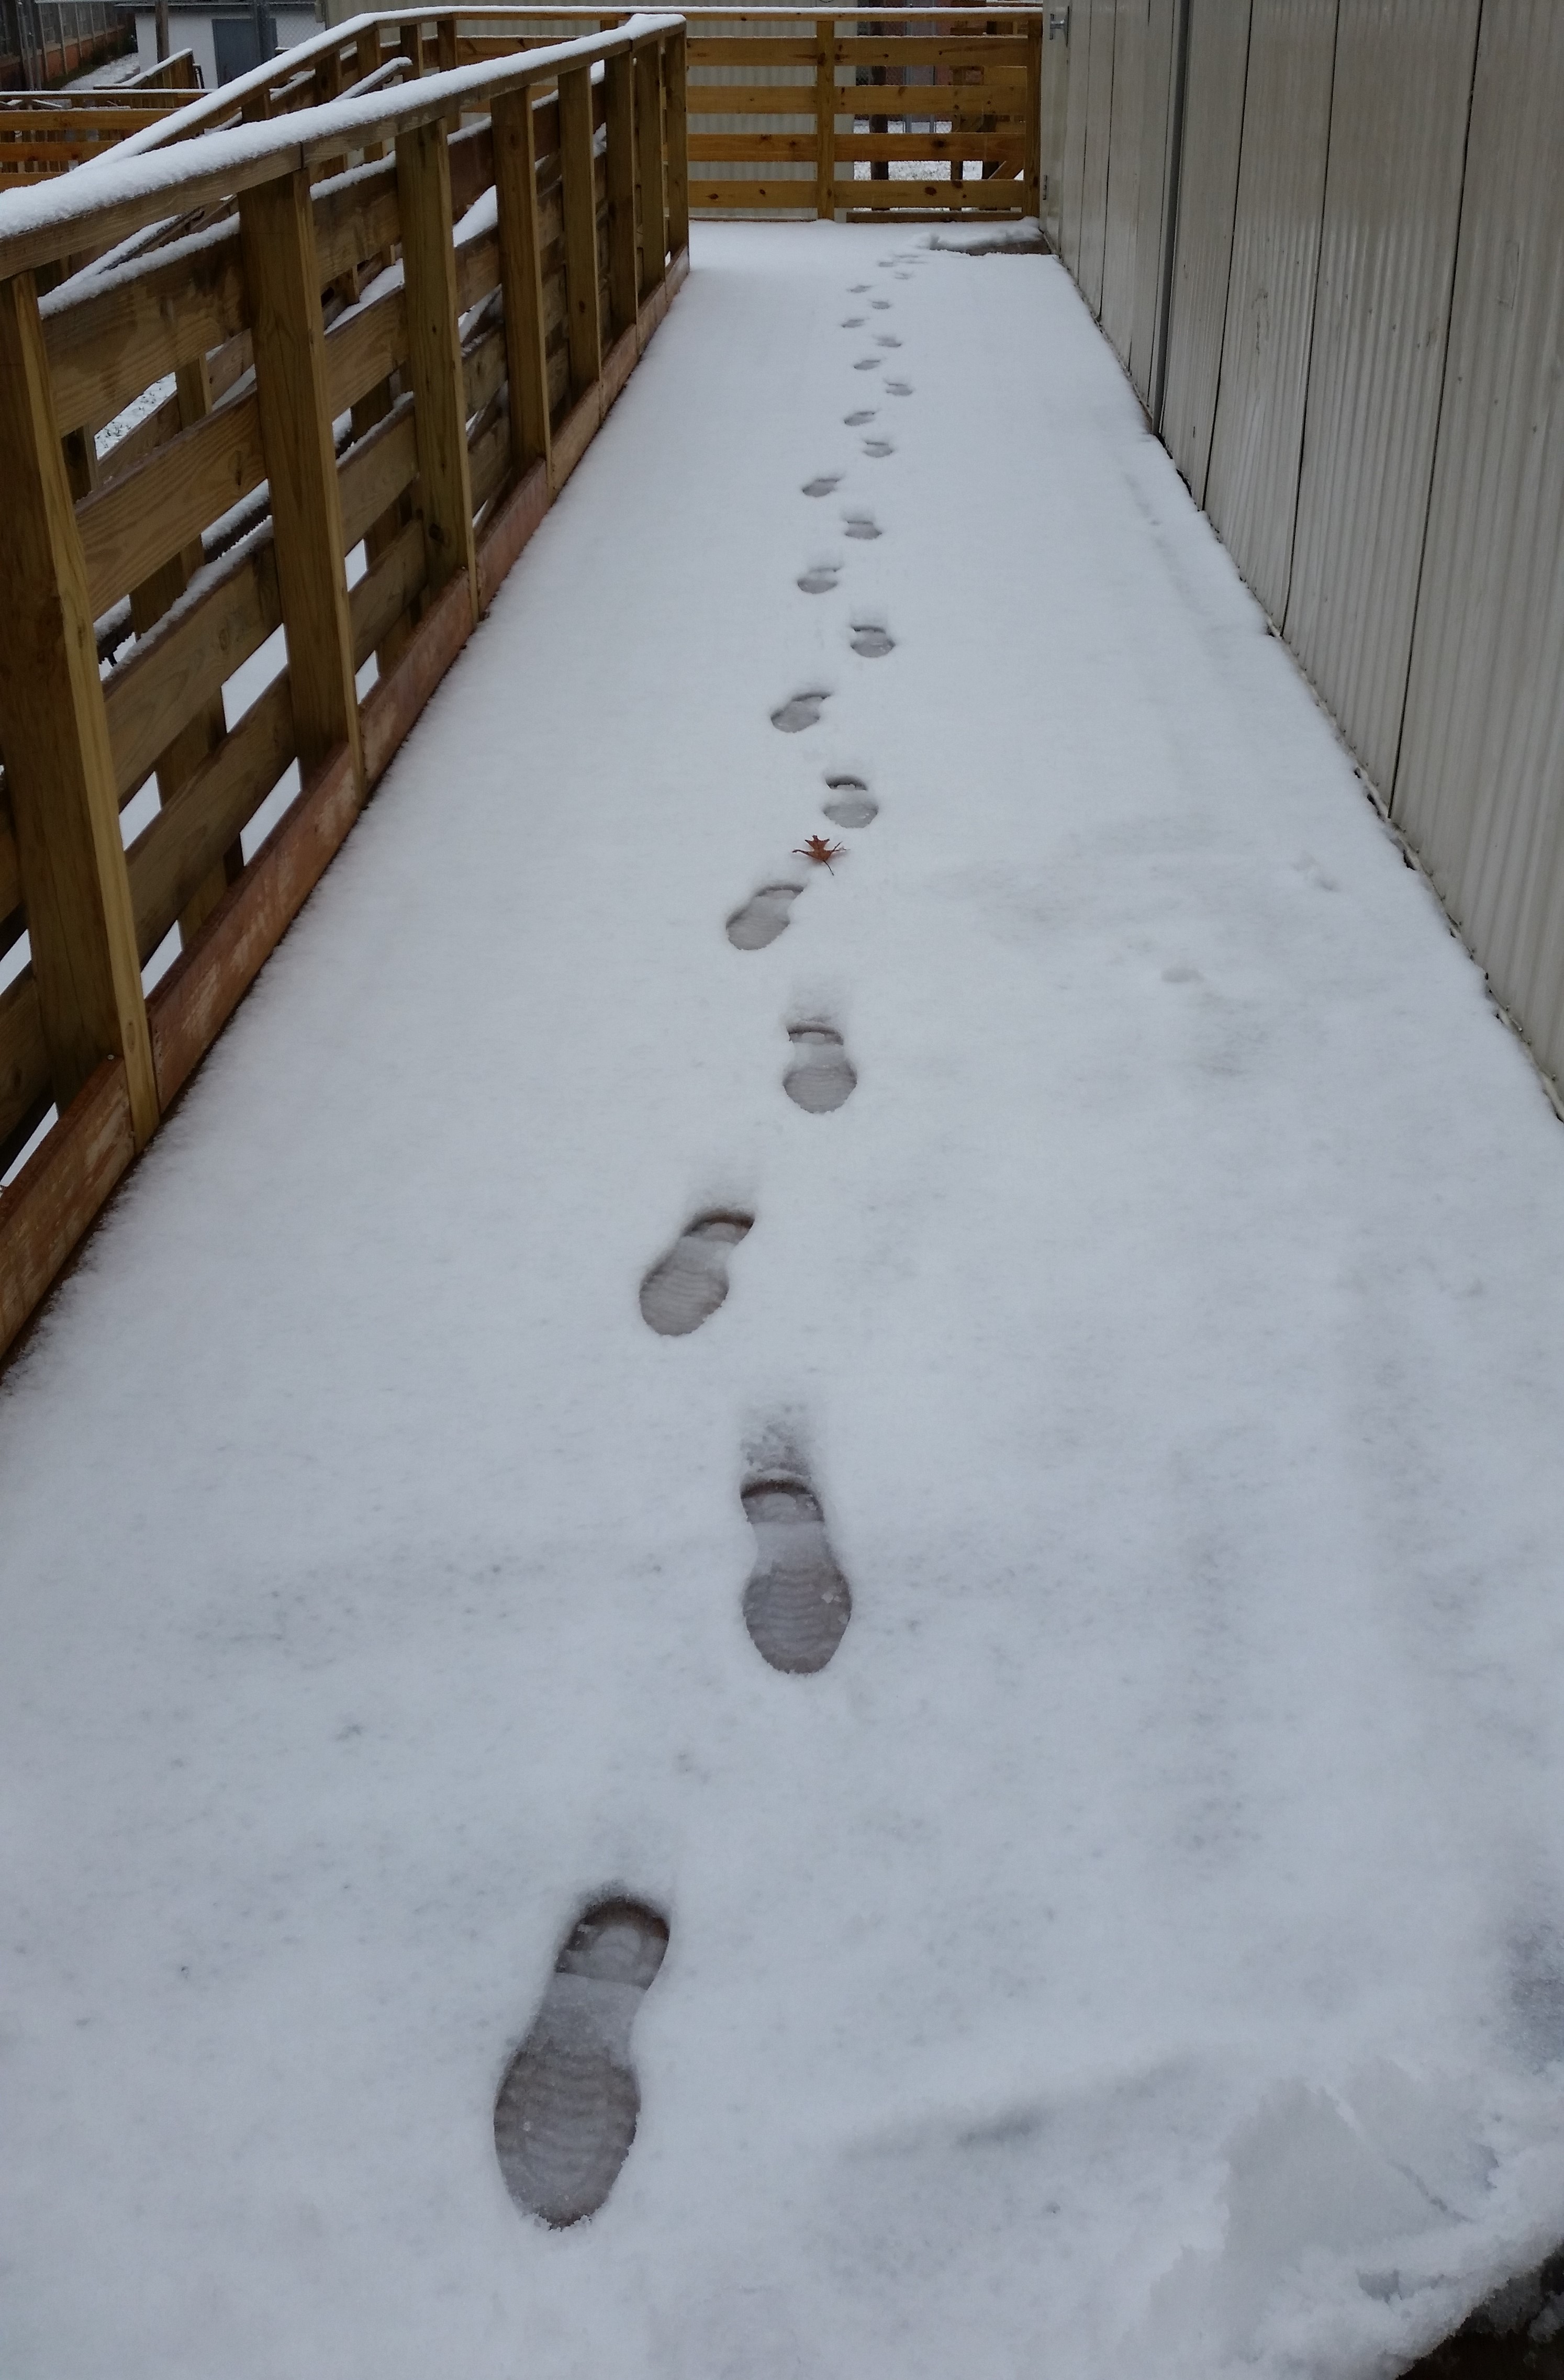
In addition to consulting their writing ideas list, a visual prompt could be displayed on a large screen. Students could write about the visual itself, use it for inspiration (Student: That’s interesting, but I’m going to write about . . .), or connect it to a personal experience (Student: Oh, that reminds me of . . .). Students could use the visual prompt or ignore it. The visual prompts in this post are available below.

A visual writing prompt.

Each day that we do 10 minutes of uninterrupted writing, I challenge the students to try and write more than they did the day before. This means, if they wrote 6 lines the previous day, can they double the amount today? (Enlarging the font size does not count!). Usually, students are very keen to rise to this challenge and will stretch themselves. Along with building writing stamina, I want students to aim to extend their writing over time.

Students can do their ten uninterrupted writing minutes in a physical writer’s notebook or an online writer’s notebook. I have found that there are two advantages to having students do this strategy online. First, students get to practice their keyboarding skills in preparation for online high stakes assessments. Second, the teacher can see students work immediately and give timely feedback. The biggest drawback to doing this in Google Docs is that it will auto correct and not give a true picture of how well students can construct sentences and their spelling ability. The auto correct can be turned off, but most students will be able to figure out how to turn it back on. So instead of focusing on sentence structures and spelling, I will focus on what it is students are saying in their writing. Sentence structures and spelling will be addressed later on.

For the 10 minutes of uninterrupted writing time to be successful, there must be a set time for it each day, students must have all their materials ready for writing before the ten minutes, everyone should know the expectations, and everyone should be writing, including the teacher.

After the 10 minutes, I will end the time by asking students if anyone would like to share their writing. I intend this to be a very quick share, so I only choose two or three students. Once a student has shared, I tried to make a short positive comment about something in their writing. When the class is new to the 10 minutes of uninterrupted writing time, I will share my writing first so students can become comfortable with sharing their work. As they develop their writing muscles, they become eager to share!

Happy Writing!

Sonia

P.S. Free downloads of the visual prompts that are in this post.

Do You Have a Writer’s Notebook?

Writing teacher, as you create your writing world in your classroom, you want to be sure that you are not just observing your students writing but you are participating as a novice/developing/expert writer. (You decide the word that best fits you as a writer.) No matter what your perceived level, everyone is working on growing as a writer!

My Favorite Writer’s Notebook

Like your students, you need to set yourself up for writing success by having your own writer’s notebook. Keeping a writer’s notebook will help you to see yourself as a writer and to build your confidence as a writing teacher. It can be a physical notebook or an online notebook. In this post, I am going to be referring to using a physical notebook because in some lessons I will use some of the work in my notebook to demonstrate or model different teaching points.

Having a writer’s notebook lets your students see that you are willing to write alongside them and show them how you work as a writer. In addition to this, as you do the same work, share writing strategies and specific writing skills, you will have more understanding of some of the writing difficulties that they experience, and how to address their individual needs.

You may feel uncomfortable with the idea of writing in front of your students, but do not let that put you off. I have felt the same way (and sometimes still do), but the more I write with my students the easier it gets. Remember, you are growing as a writer the same way they are. Seeing you write will encourage them to try new things in their writing!

As your students tackle different writing assignments, you should also try them. You do not have to complete all of them, you just need to write enough to demonstrate a specific teaching point. Also, keep in mind there will be some students who will have successfully mastered the skill or strategy. Their work can be shared with the rest of the class. I do recommend aiming to take some of your work to completion as it will help your students to see and understand the writing process. Which work to complete will probably depend on your writing unit. Maybe aim for at least one published piece for each genre you teach.

As you write in your writer’s notebook and share your writing successes and struggles with your students, you will be amazed at how it will inspire them. Try it and see what happens!

Happy Writer’s Notebook Hunting!

Sonia

5 Steps to Create an Online Writer’s Notebook

In the previous blog, I shared how students can personalize a physical writer’s notebook. This blog is about how students can create and personalize an Online Writer’s Notebook using Google Docs.

Step 1. The teacher should send each student a Google document with their name as the Google doc’s name. For example, Student name – Online Writer’s Notebook. This way you will already have their online writer’s notebook and it will be easy to find the students’ work once they start working.

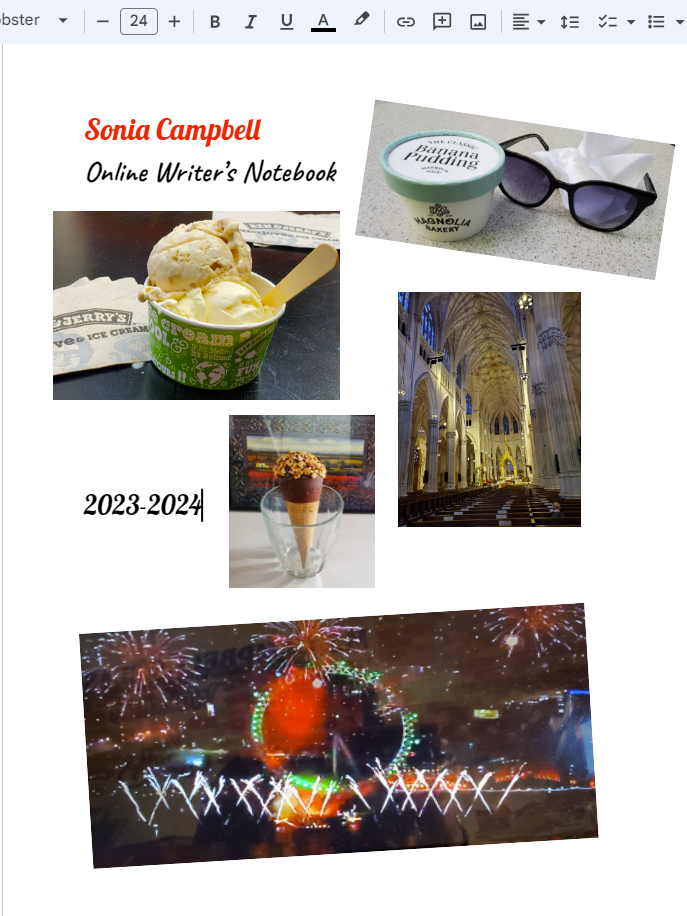
Step 2. Show students an example of the first page of an online writer’s notebook. This will be the “cover” for their notebook.

Online Writer’s Notebook Cover

Step 3. Have each student open their Google document. For this step, students will become familiar with the Google tool bar. You may want to demonstrate the tools that will be most helpful to them for this activity.

I recommend showing them . . .

How to access different fonts

How to change type size

How to bold letters

How to change letters to italics

How to underline words

How to change colors

How to undo/redo words or images

How to align text and images

How to insert images 

How to move images

Step 4. Very Important – As students will probably get images from the internet, be sure to check with your school’s media specialist for approved websites where students can get images that are not copyrighted. You want to avoid copyright infringement. This is also a good time to explain copyright Infringement to your students.

Step 5. Students will design their own Online Writer’s notebook covers. Encourage students to play around with different images, fonts, and colors. This can be a fun time!

This activity can be done in 1 – 2 sessions depending on how well students can navigate the tool bar, their chosen images, and their design ideas.

Physical Writer’s Notebook vs Online Writer’s Notebook

ConcernsPhysical Writer’s NotebookOnline Writer’s Notebook
Students keeping up with their notebooks.Students can carry their notebooks with them, but they have more of an opportunity to forget them or lose them.+ Most of the time students will have their Online Writer’s notebooks as they are using their laptops all the time.
Ease of checking students work.Students must turn in their books to the teacher.+ The teacher has instant access to all students’ work.
Timely feedback.For specific feedback, at a specific time, all books must be collected.+ The teacher can give quick feedback using the comment feature in Google Docs.
Changes in student writing.+ The student can use multiple pages to draft, develop, and edit ideas. They will be able to look back and see how their writing developed over a period of time.Students will make changes (develop, edit, etc.) to one document. Once they have deleted different parts of their writing, they have no way seeing how they improved their writing.
Grammar and Spelling+ Students will have to demonstrate in their writing their understanding of grammar and spelling. This gives a true picture of where the students need help in these two areas.Google Docs will autocorrect spelling and grammar. This can be turned off, but most students will probably know how to turn in back on.

As the teacher, you will have to decide which approach best meets your teaching style and your students’ needs. You may decide that your students will use physical writer’s notebooks and online writer’s notebooks because each will be for specific assignments.

Happy Creating!

Sonia

6 Steps to Personalize a Writer’s Notebook

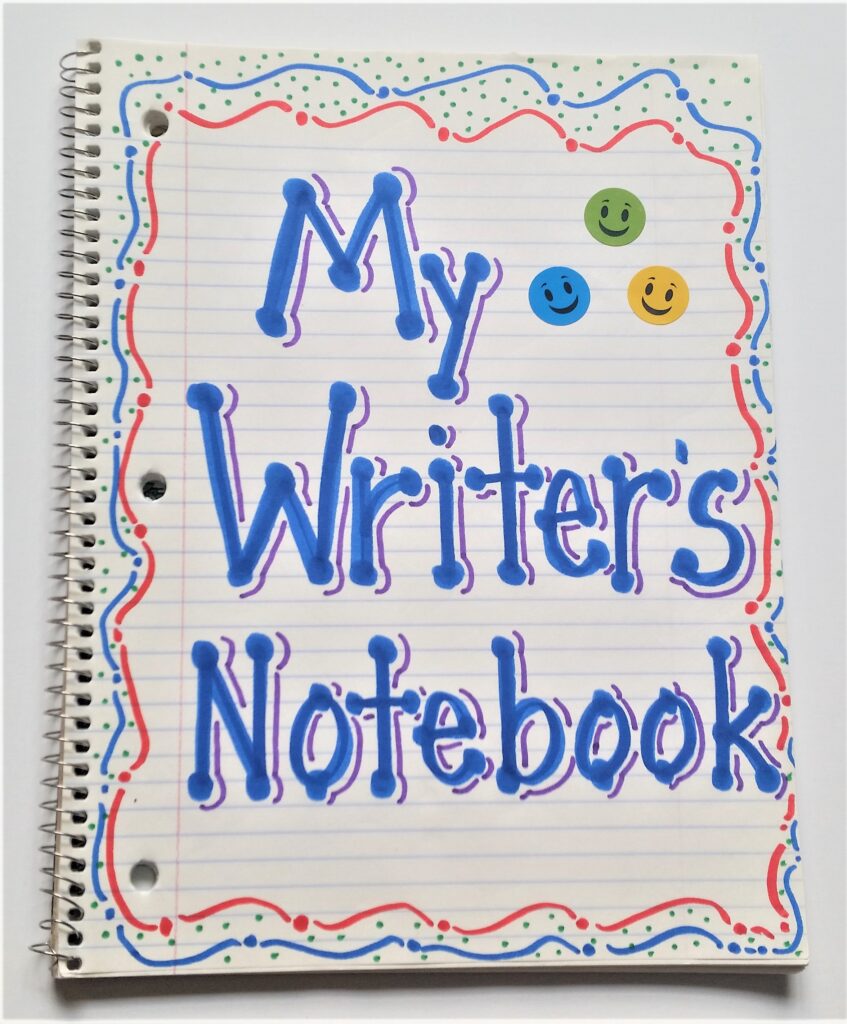
A good one-off activity for the first week of school is to have your students personalize their writer’s notebooks as they learn the routines and procedures of your classroom. It is one way to ease students into their new learning environment and to get ready for writing. Encourage your students to personalize their notebooks in a way that is pleasing to them. The aim is for students to see their notebooks as valuable treasures! Some students may choose to buy notebooks that already have fancy covers. During this activity, they can do step 6.

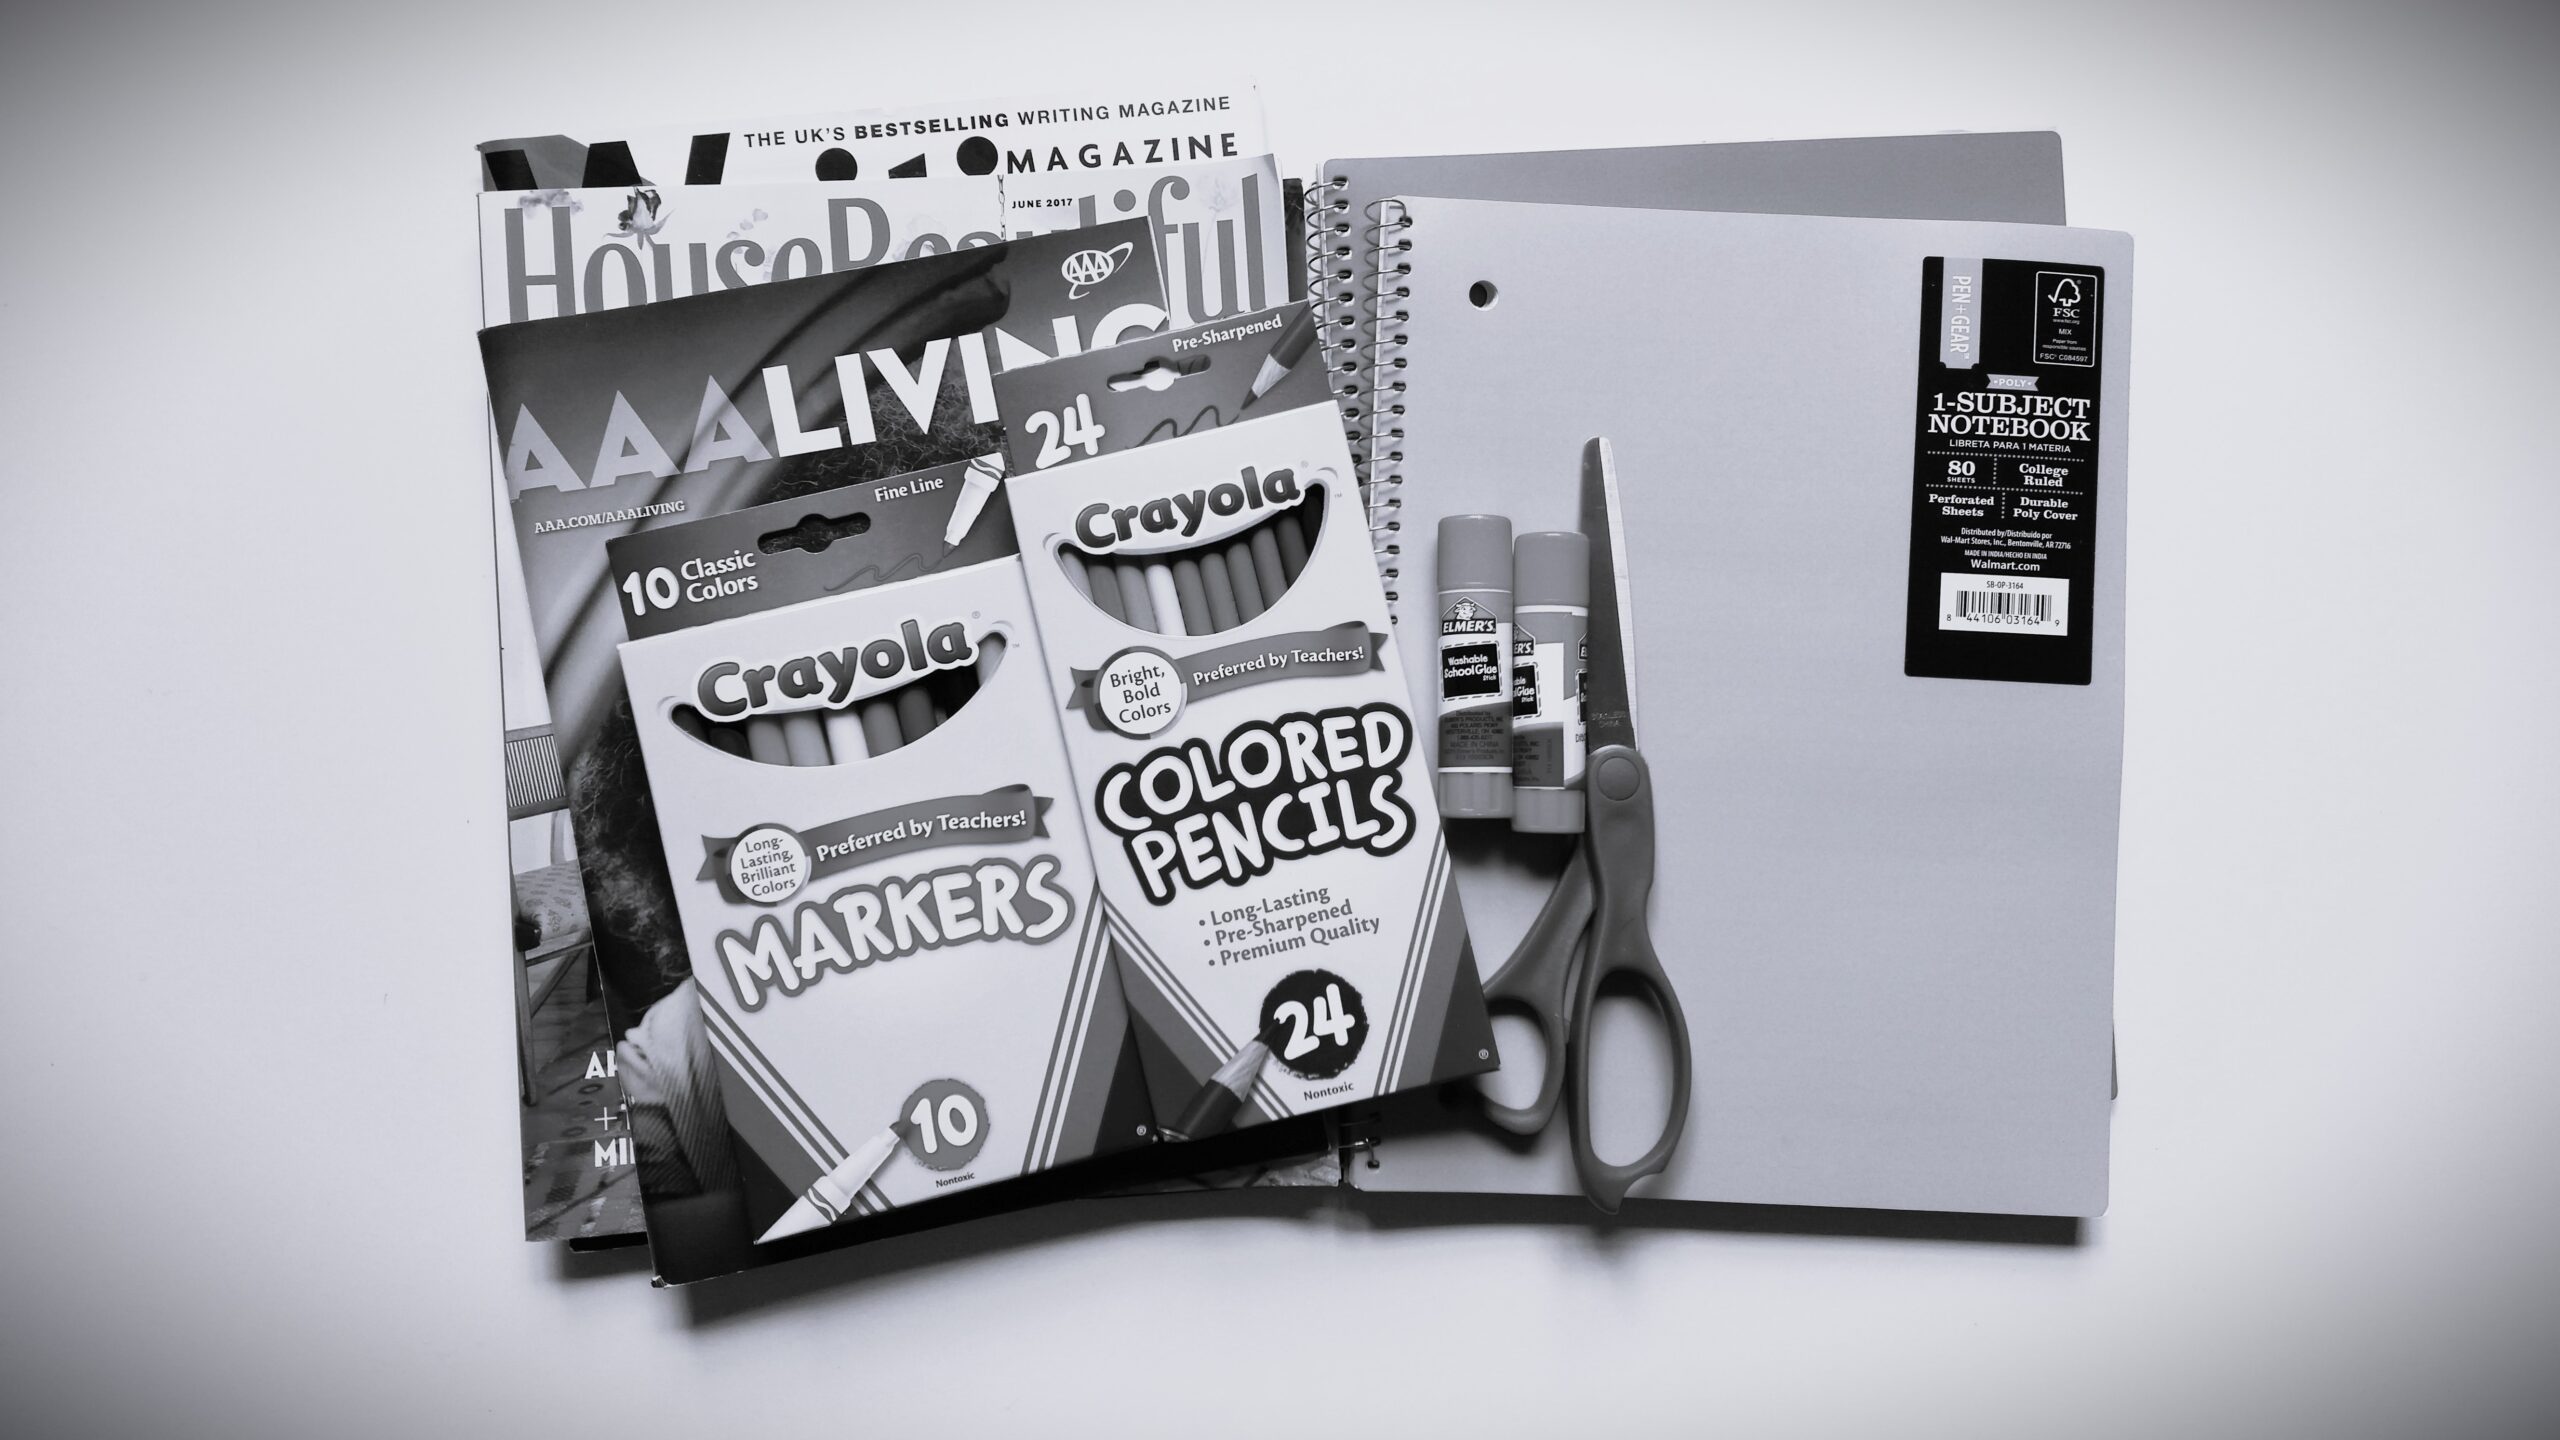
Step 1. You will need enough supplies for all the students in your class. You will need: glue, scissors, magazines, color markers, colored pencils, and notebooks for students who do not have their own. It might be that you are giving notebooks to all of your students. Try to have extra notebooks available for newcomers. Remember, some students may choose to bring in their own store bought decorated notebooks.

Step 2. Students can be encouraged to bring in personal pictures, stickers, etc. that they would like to use to personalize their notebooks. If you do not have enough magazines before the activity, you can check to see if any of your students can bring some from home.

Step 3. I recommend telling your students to personalize only the front of their notebooks. This will mean you will use less clear contact paper on each notebook. (Think budget!)

Step 4. Once students have chosen their pictures, they should make sure they are cut out neatly, arranged on the cover and all the edges are glued down. If students do these three things, it will save you a lot of time when you are covering the books with clear contact paper which is sticky.

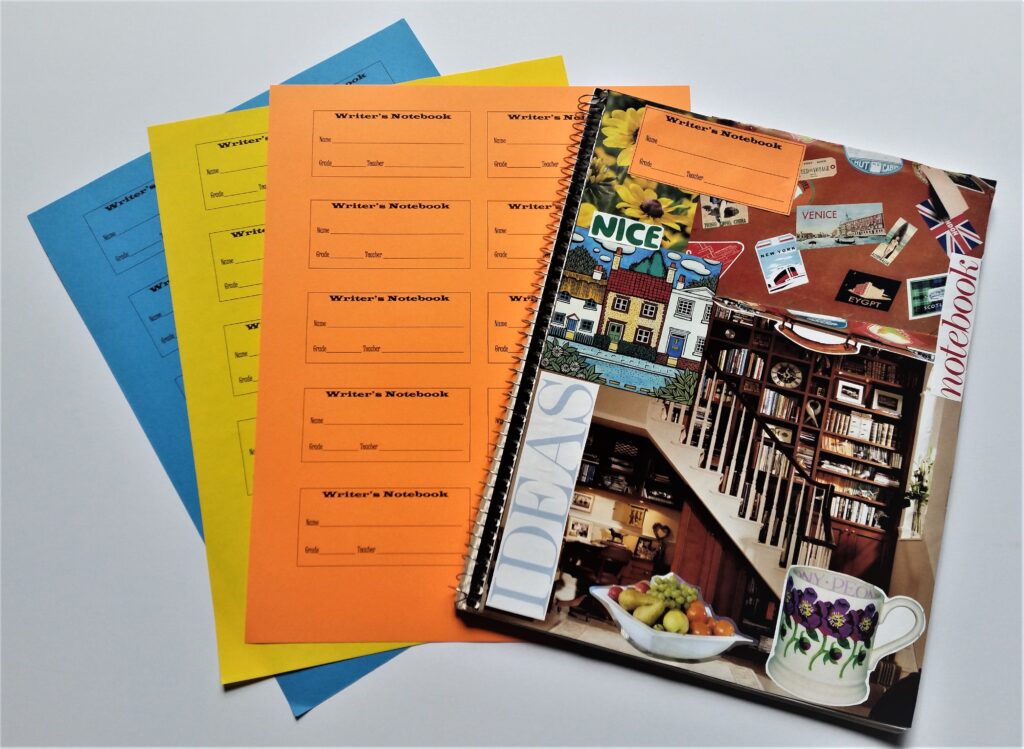
Step 5. Once students have finished, give each one a label to put on the cover of their book. If you are working with more than one class, it is a good idea to color code them according to grade levels. This will make student and grade level identification much easier for you. Next, cover the covers with clear contact paper. I recommend doing this because if the covers are left unprotected, they will become tatty looking within a very short space of time. Remember, we want students to treasure their notebooks!

Step 6. If a student has a store-bought decorated notebook cover design that they like, during the lesson they can work on designing a title page on the first page of the inside of their notebook. This does not have to be done by all students; it is intended to make sure that everyone is engaged during the activity.

Happy Decorating!

Sonia

P.S. Feel free to download this PDF of Writer’s Notebook Labels


Keep Writing in View!

Back to school signs are everywhere.  I love these signs! They give me full permission to splurge on school supplies I like, both practical and impractical. Some I need and some just because they make me feel happy. Anyone else feel the same way?

Keep writing in view!  

Let’s talk about teaching writing to our students in grades 3-5. We know that the school year is going to be very busy, hectic, and maybe a little bit crazy. As we venture into the new school year, let’s decide to keep writing in view for the whole school year.

Where does the view start?

The view starts with thinking about where students will keep their big and little writing ideas. Over the years my students have always used physical writing notebooks, but for the past couple of years I have had my students create online notebooks. Both have strengths and weaknesses.

I believe that a writer’s notebook is a good place to start because as I have observed when students are given the opportunity to write self-selected topics, they’ll often say, “I don’t know what to write about!” In writing workshop students are encouraged to choose their own topics, which is great, but if they don’t know how to come up with ideas they’re lost. Before students can write anything, they need to have some ideas. They need to have writing ideas at their fingertips!

They should have their Writer’s Notebooks at their fingertips.

 I see a Writer’s notebook as . . .

  • a place to hold thinking, ideas and thoughts,
  • to try new things, a place to practice, to revisit ideas,   
  • a tool to support writing, and
  •  meaningful.

During the first week of school, I always center the first writing workshop lesson around students personalizing their individual writer’s notebook. In my next post, I will talk about how my students do this with their physical and online notebooks.

Happy Writing!