Menu
Do You Have a Writer’s Notebook?

Do You Have a Writer’s Notebook?

Writing teacher, as you create your writing world in your classroom, you want to be sure that you are not just observing your students writing but you are participating as a novice/developing/expert writer. (You decide the word that best fits you as a writer.) No matter what your perceived level, everyone is working on growing as a writer!

My Favorite Writer’s Notebook

Like your students, you need to set yourself up for writing success by having your own writer’s notebook. Keeping a writer’s notebook will help you to see yourself as a writer and to build your confidence as a writing teacher. It can be a physical notebook or an online notebook. In this post, I am going to be referring to using a physical notebook because in some lessons I will use some of the work in my notebook to demonstrate or model different teaching points.

Having a writer’s notebook lets your students see that you are willing to write alongside them and show them how you work as a writer. In addition to this, as you do the same work, share writing strategies and specific writing skills, you will have more understanding of some of the writing difficulties that they experience, and how to address their individual needs.

You may feel uncomfortable with the idea of writing in front of your students, but do not let that put you off. I have felt the same way (and sometimes still do), but the more I write with my students the easier it gets. Remember, you are growing as a writer the same way they are. Seeing you write will encourage them to try new things in their writing!

As your students tackle different writing assignments, you should also try them. You do not have to complete all of them, you just need to write enough to demonstrate a specific teaching point. Also, keep in mind there will be some students who will have successfully mastered the skill or strategy. Their work can be shared with the rest of the class. I do recommend aiming to take some of your work to completion as it will help your students to see and understand the writing process. Which work to complete will probably depend on your writing unit. Maybe aim for at least one published piece for each genre you teach.

As you write in your writer’s notebook and share your writing successes and struggles with your students, you will be amazed at how it will inspire them. Try it and see what happens!

Happy Writer’s Notebook Hunting!

Sonia

Things to Consider When Creating a Writing Environment in an Elementary Classroom

Things to Consider When Creating a Writing Environment in an Elementary Classroom

As I prepare my classroom at the start of a new school year, I think about the kind of writing environment I want to have and how best to create it. I want our writing time to have a different feel to the rest of the teaching that is happening each day. I want to invite students into a writing world!

Here are 7 key things I keep in mind for the writing world I want my students to experience.

1. Conference time. My first thought is about how will I conference with students throughout the school year. This sounds like a strange place to start but this is indirectly related to classroom management. As the writing teacher, I want to conference with all my students as much as possible. I prefer to go to my students when I am doing one on one conferencing, but when I am meeting with a small group, I will set up an area/space for us to meet together. I have noticed that students stay more focused on their independent writing if I am moving around the classroom than when I stay in one spot! So with this in mind, the arrangement of classroom desks, tables, chairs, etc. needs to be in such a way that it is easy for me to quickly move around the classroom and to draw alongside students.

2. Student choice. Students are allowed to choose a regular writing spot. During writing time, my students may stay at their desks, but I like to give them the option to find a writing spot anywhere in the classroom. As I know that some students will be sitting on the floor, I provide floor cushions and a few comfy chairs that are not the standard school chairs. The carpet area is also available as a writing spot.  Once students have chosen their writing spot, that is where they are expected to work during writing time. They will have a chance to change their spots later on in the year, or when the current spot is not helping them to produce their best work.

3. Lighting.  I have inexpensive table lamps and/or floor lamps in my classroom to help create a writing mood. Sometimes I will turn off the overhead lights providing there is lots of natural light coming into the classroom.

4. Soft music.  I like to play very soft background music to help create a writing atmosphere.  It also signals that it is our writing time.  As I do not want students to be distracted by the music, I prefer to play the same music each writing session. You might prefer more of a variety. Try it and see what works best for you and your students!

5. A writing center.  A writing center is provided so students can have easy access to materials that they can use during writing time without my supervision. This will free me up to conference with students uninterrupted. In the writing center there are papers, pens, pencils, markers, pencil sharpeners, scissors, etc. I avoid having too many items as I want students to be more focused on their writing than spending time deciding which materials they want to use.  As the school year moves forward, I may decide to change some of the materials in the center.

6. A variety of dictionaries. Usually, elementary classes will have just one kind of dictionary available to students. Instead of this, I try to have grade level dictionaries, above grade level dictionaries, easy dictionaries, illustrated dictionaries, easy picture dictionaries, bilingual dictionaries, etc., and of course, access to online dictionaries. I do not have to have a class set of each of these dictionaries. The availability of a variety of dictionaries means the spelling needs of all students can be met. Many times, students will get fixated on spelling and miss out on developing their writing, so I do not encourage them to use a dictionary until they are at the editing stage of their writing. When they are ready, the dictionaries are a go!

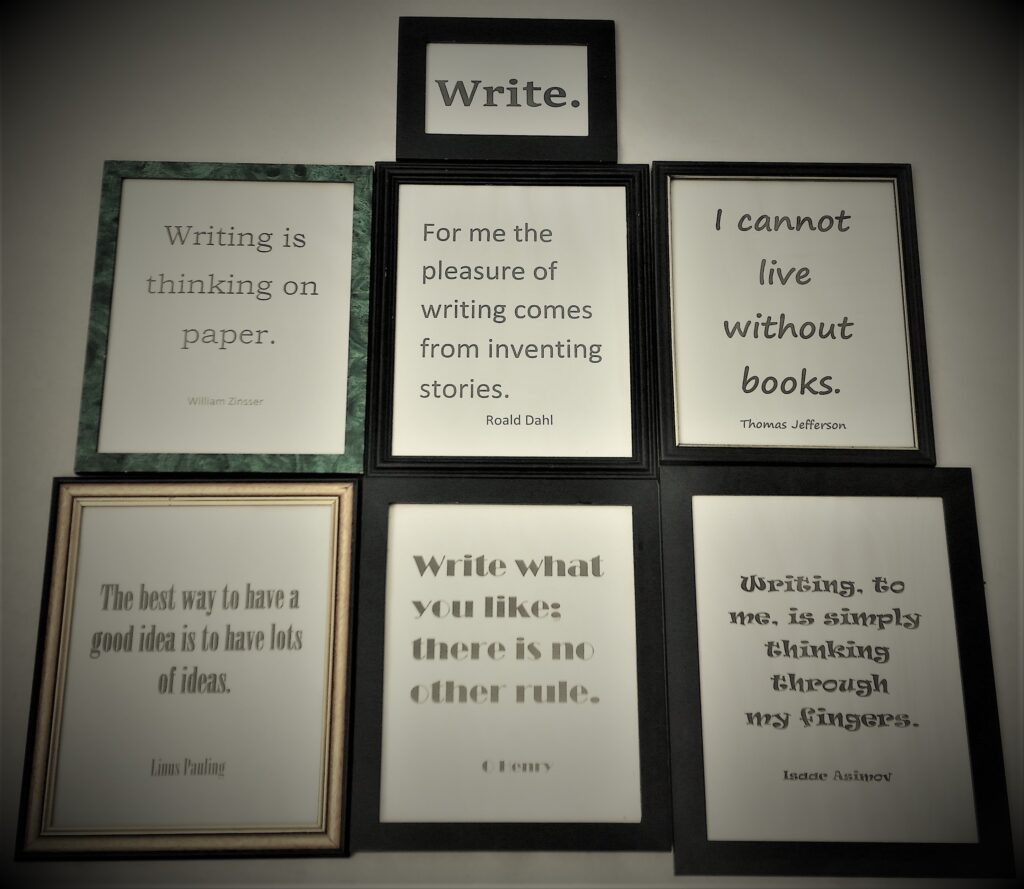
7. Writing gallery wall/bulletin board. I created a writing gallery wall/bulletin board with inspiring quotes about writing.  The quotes are intended to be used as discussion points with my students. Here are two examples of two essential questions that help students focus on the subject of writing, “What does this quote mean to you?” and “What does it make you think that you can do in your writing?” I want students to move beyond thinking that writing is just an exercise that we do in class and begin to see that writing is so much more. The quotes will remain on display as a source of inspiration the whole school year.

When I have these things in place, I find that I have created an environment where my students are motivated to write. As you create your own writing environment you will quickly discover what kind of environment will speak to your students.

Happy Creating!

Sonia

5 Steps to Create an Online Writer’s Notebook

5 Steps to Create an Online Writer’s Notebook

In the previous blog, I shared how students can personalize a physical writer’s notebook. This blog is about how students can create and personalize an Online Writer’s Notebook using Google Docs.

Step 1. The teacher should send each student a Google document with their name as the Google doc’s name. For example, Student name – Online Writer’s Notebook. This way you will already have their online writer’s notebook and it will be easy to find the students’ work once they start working.

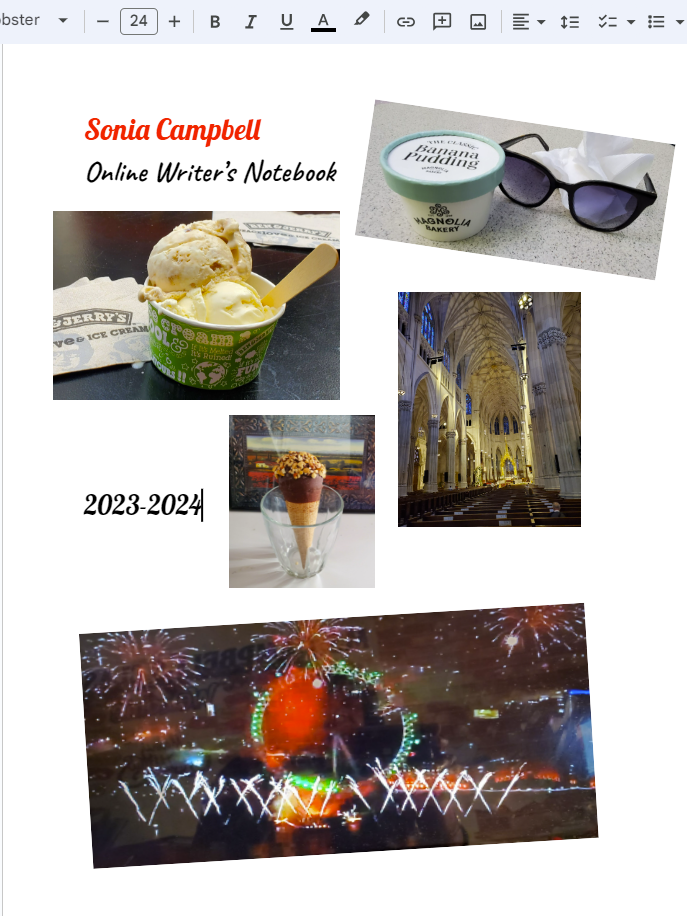
Step 2. Show students an example of the first page of an online writer’s notebook. This will be the “cover” for their notebook.

Online Writer’s Notebook Cover

Step 3. Have each student open their Google document. For this step, students will become familiar with the Google tool bar. You may want to demonstrate the tools that will be most helpful to them for this activity.

I recommend showing them . . .

How to access different fonts

How to change type size

How to bold letters

How to change letters to italics

How to underline words

How to change colors

How to undo/redo words or images

How to align text and images

How to insert images 

How to move images

Step 4. Very Important – As students will probably get images from the internet, be sure to check with your school’s media specialist for approved websites where students can get images that are not copyrighted. You want to avoid copyright infringement. This is also a good time to explain copyright Infringement to your students.

Step 5. Students will design their own Online Writer’s notebook covers. Encourage students to play around with different images, fonts, and colors. This can be a fun time!

This activity can be done in 1 – 2 sessions depending on how well students can navigate the tool bar, their chosen images, and their design ideas.

Physical Writer’s Notebook vs Online Writer’s Notebook

ConcernsPhysical Writer’s NotebookOnline Writer’s Notebook
Students keeping up with their notebooks.Students can carry their notebooks with them, but they have more of an opportunity to forget them or lose them.+ Most of the time students will have their Online Writer’s notebooks as they are using their laptops all the time.
Ease of checking students work.Students must turn in their books to the teacher.+ The teacher has instant access to all students’ work.
Timely feedback.For specific feedback, at a specific time, all books must be collected.+ The teacher can give quick feedback using the comment feature in Google Docs.
Changes in student writing.+ The student can use multiple pages to draft, develop, and edit ideas. They will be able to look back and see how their writing developed over a period of time.Students will make changes (develop, edit, etc.) to one document. Once they have deleted different parts of their writing, they have no way seeing how they improved their writing.
Grammar and Spelling+ Students will have to demonstrate in their writing their understanding of grammar and spelling. This gives a true picture of where the students need help in these two areas.Google Docs will autocorrect spelling and grammar. This can be turned off, but most students will probably know how to turn in back on.

As the teacher, you will have to decide which approach best meets your teaching style and your students’ needs. You may decide that your students will use physical writer’s notebooks and online writer’s notebooks because each will be for specific assignments.

Happy Creating!

Sonia

6 Steps to Personalize a Writer’s Notebook

6 Steps to Personalize a Writer’s Notebook

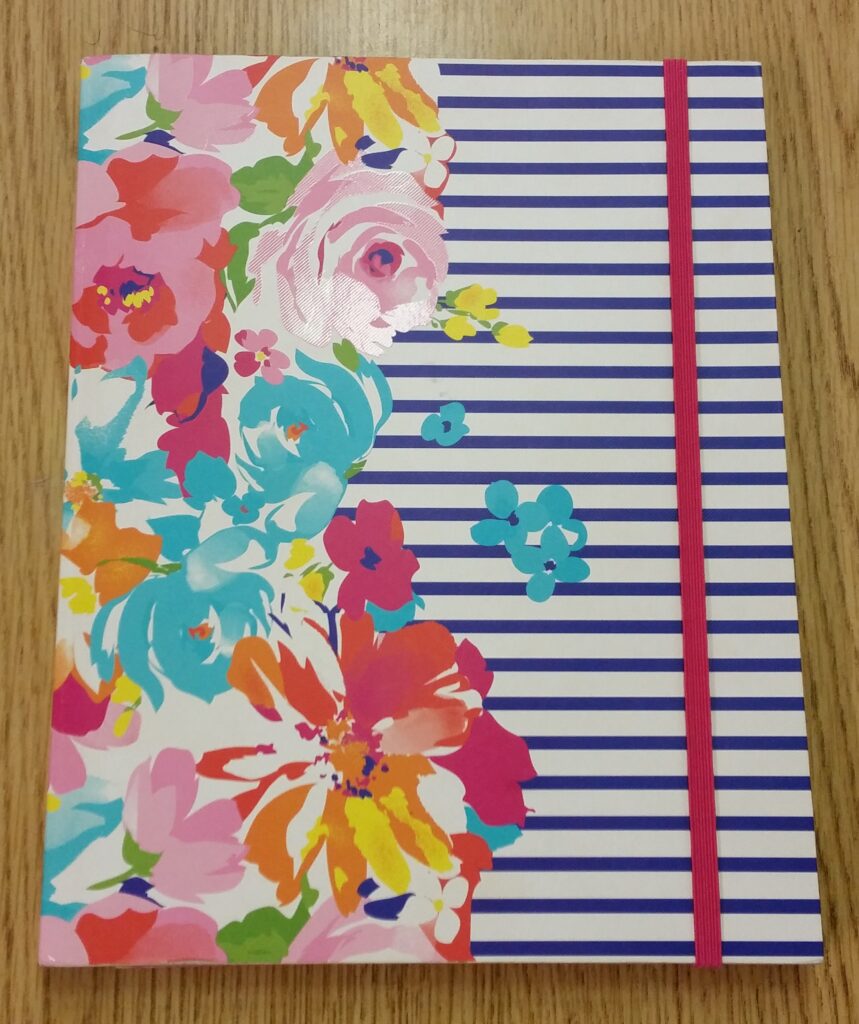
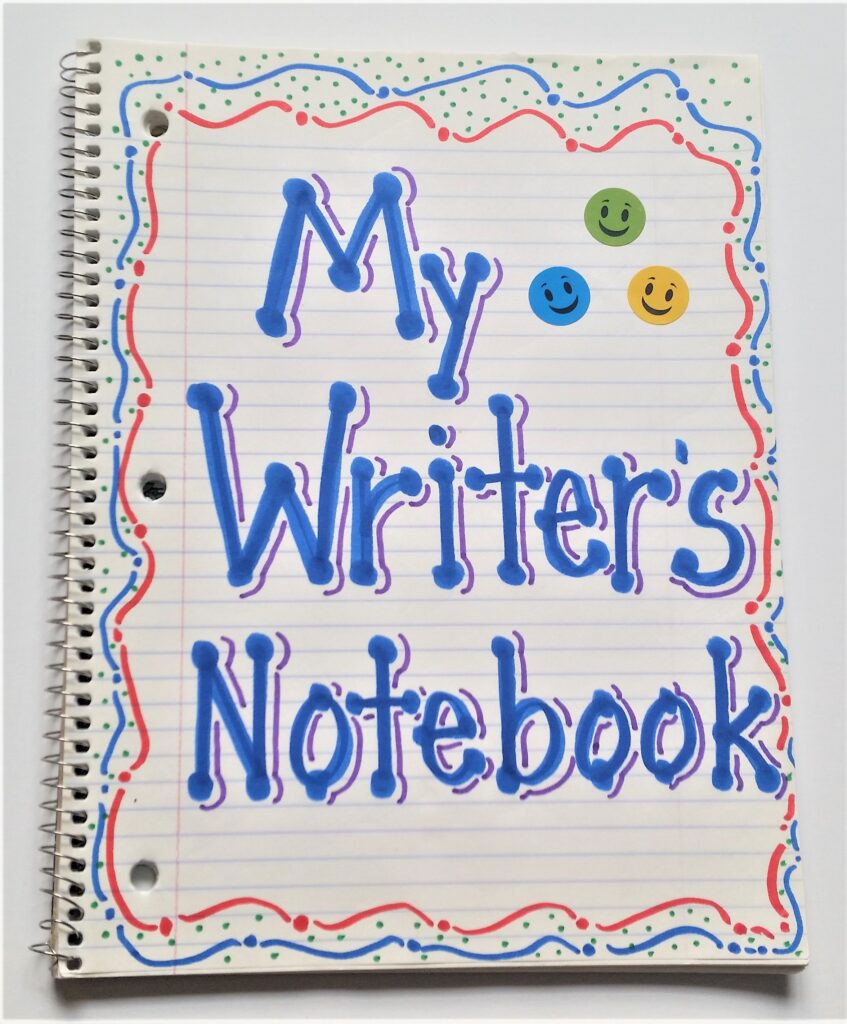
A good one-off activity for the first week of school is to have your students personalize their writer’s notebooks as they learn the routines and procedures of your classroom. It is one way to ease students into their new learning environment and to get ready for writing. Encourage your students to personalize their notebooks in a way that is pleasing to them. The aim is for students to see their notebooks as valuable treasures! Some students may choose to buy notebooks that already have fancy covers. During this activity, they can do step 6.

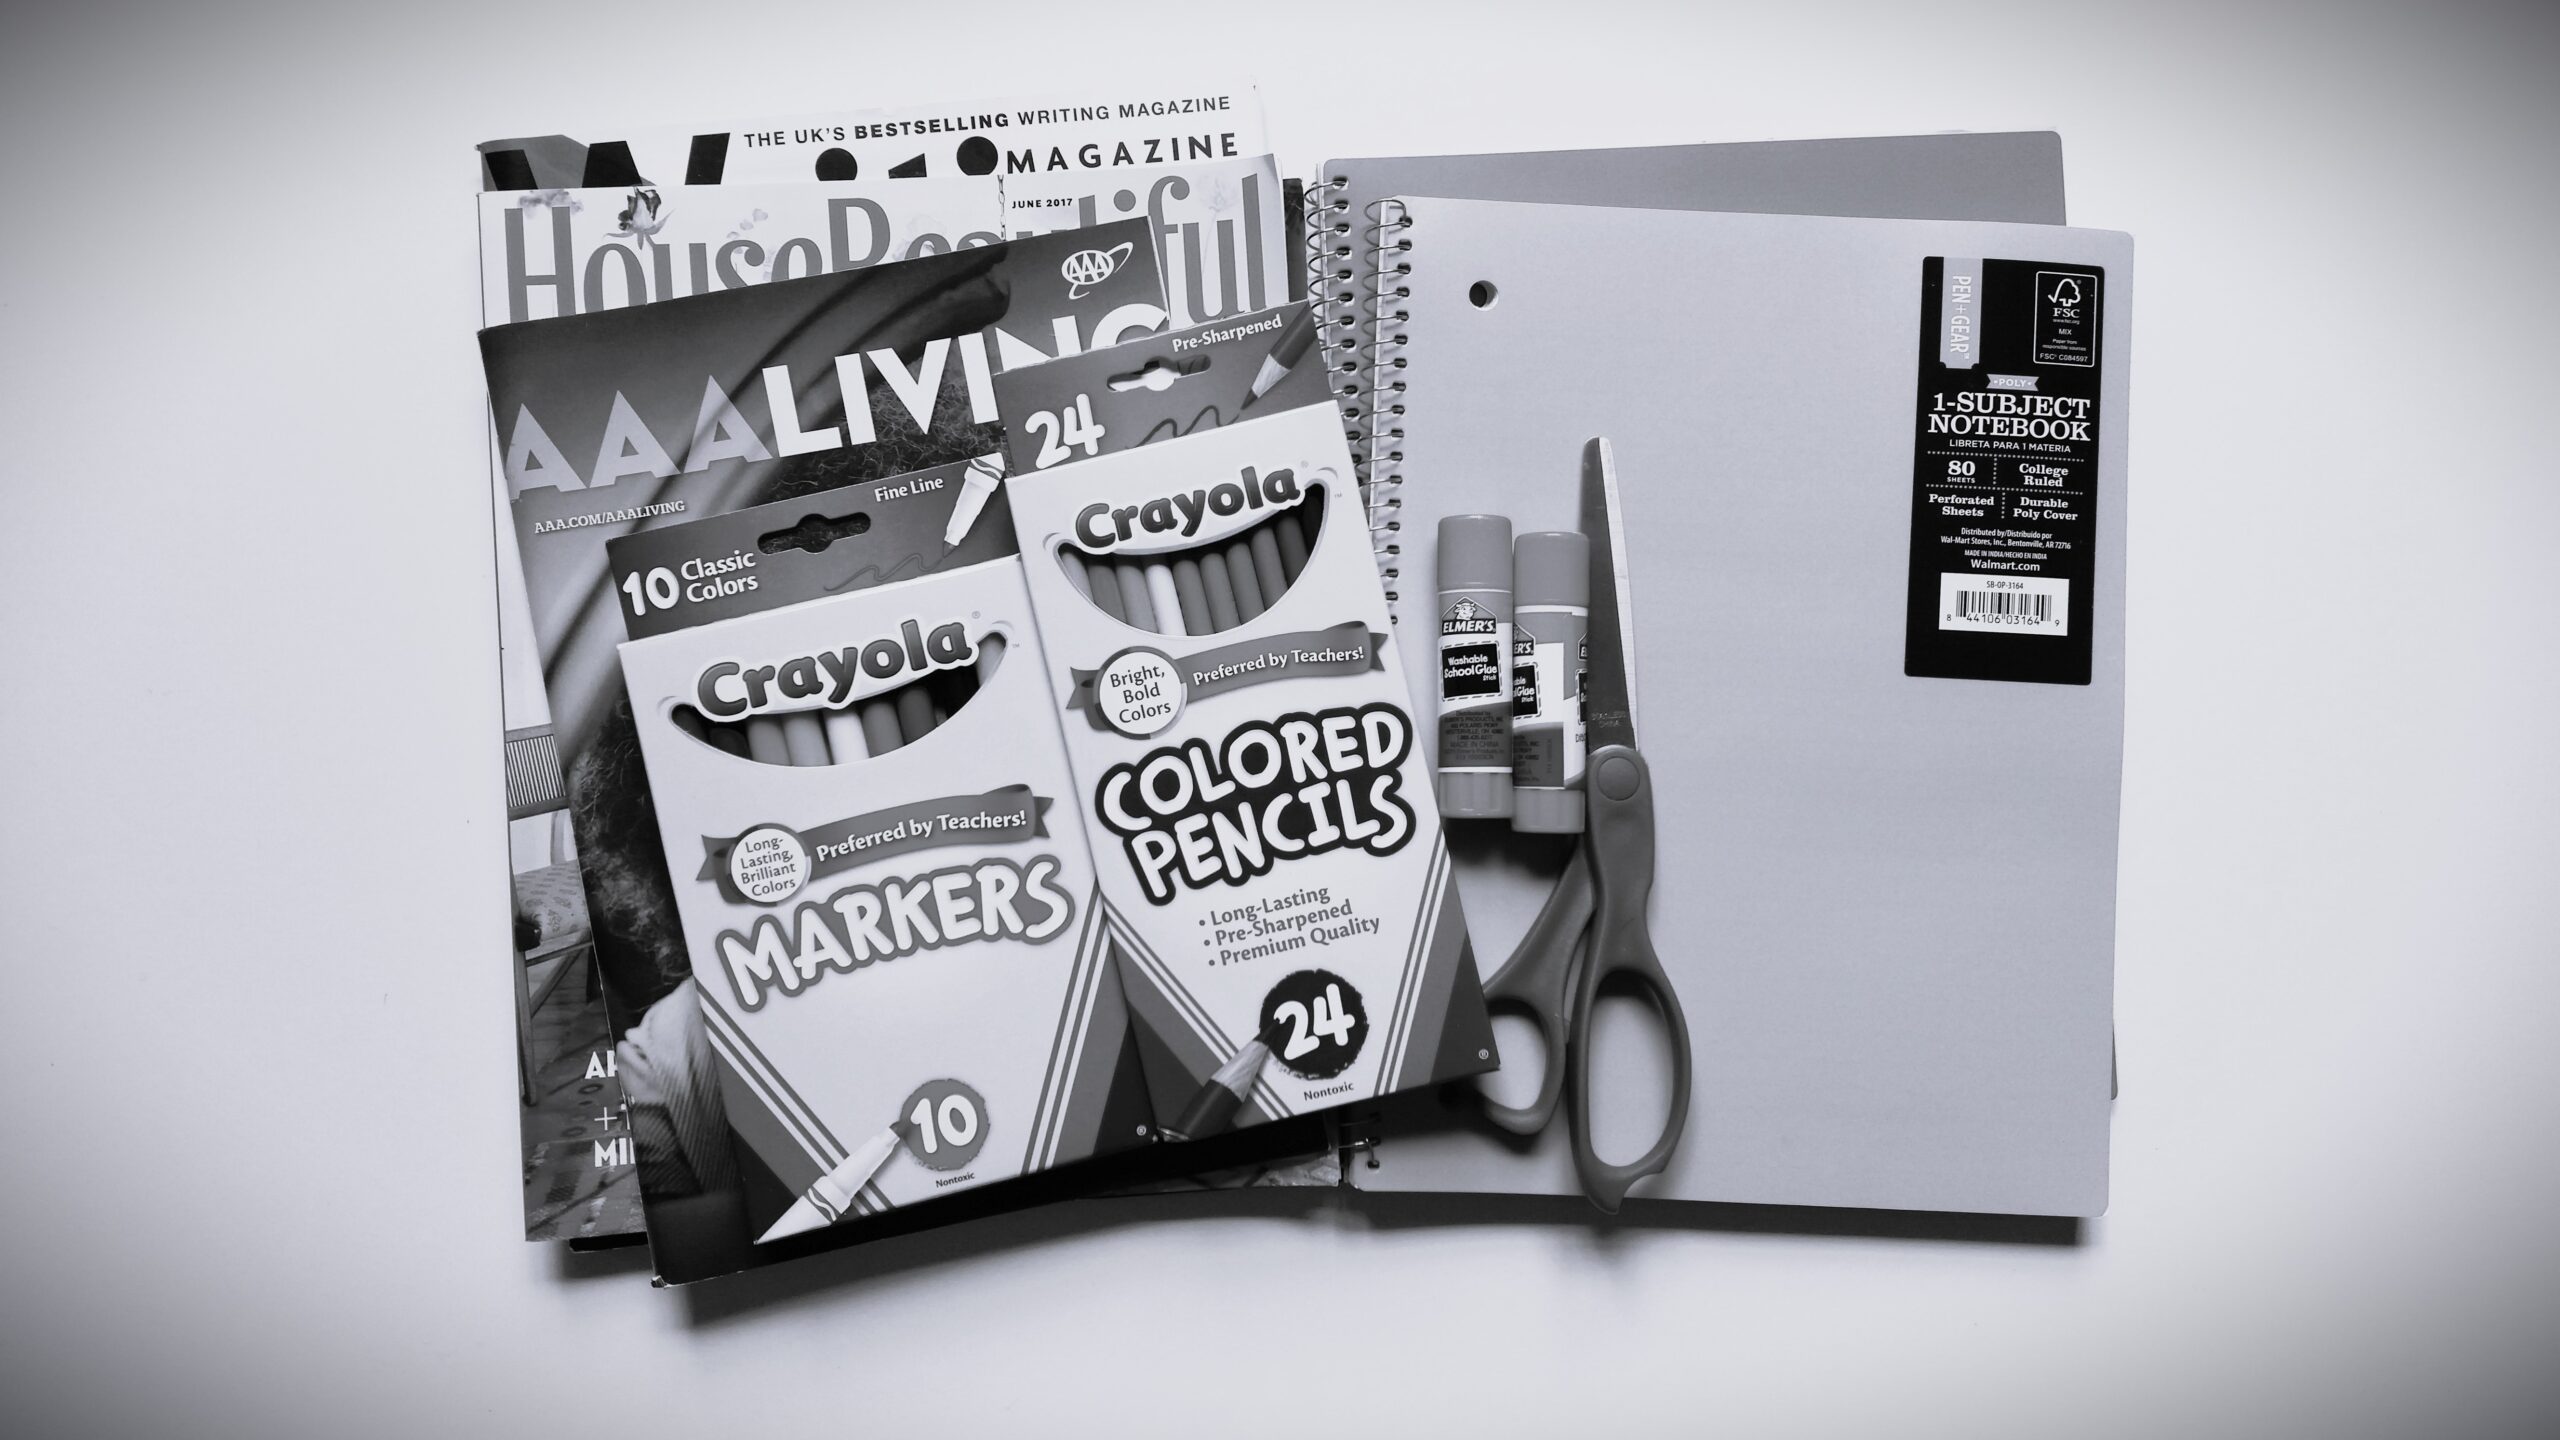
Step 1. You will need enough supplies for all the students in your class. You will need: glue, scissors, magazines, color markers, colored pencils, and notebooks for students who do not have their own. It might be that you are giving notebooks to all of your students. Try to have extra notebooks available for newcomers. Remember, some students may choose to bring in their own store bought decorated notebooks.

Step 2. Students can be encouraged to bring in personal pictures, stickers, etc. that they would like to use to personalize their notebooks. If you do not have enough magazines before the activity, you can check to see if any of your students can bring some from home.

Step 3. I recommend telling your students to personalize only the front of their notebooks. This will mean you will use less clear contact paper on each notebook. (Think budget!)

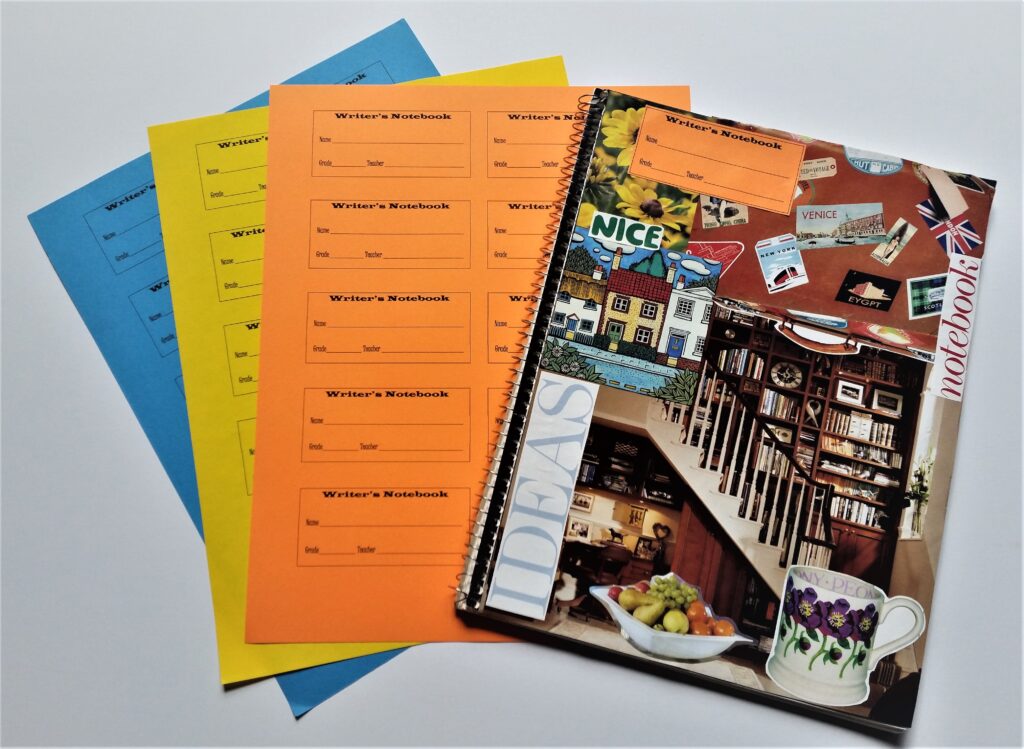
Step 4. Once students have chosen their pictures, they should make sure they are cut out neatly, arranged on the cover and all the edges are glued down. If students do these three things, it will save you a lot of time when you are covering the books with clear contact paper which is sticky.

Step 5. Once students have finished, give each one a label to put on the cover of their book. If you are working with more than one class, it is a good idea to color code them according to grade levels. This will make student and grade level identification much easier for you. Next, cover the covers with clear contact paper. I recommend doing this because if the covers are left unprotected, they will become tatty looking within a very short space of time. Remember, we want students to treasure their notebooks!

Step 6. If a student has a store-bought decorated notebook cover design that they like, during the lesson they can work on designing a title page on the first page of the inside of their notebook. This does not have to be done by all students; it is intended to make sure that everyone is engaged during the activity.

Happy Decorating!

Sonia

P.S. Feel free to download this PDF of Writer’s Notebook Labels


Keep Writing in View!

Keep Writing in View!

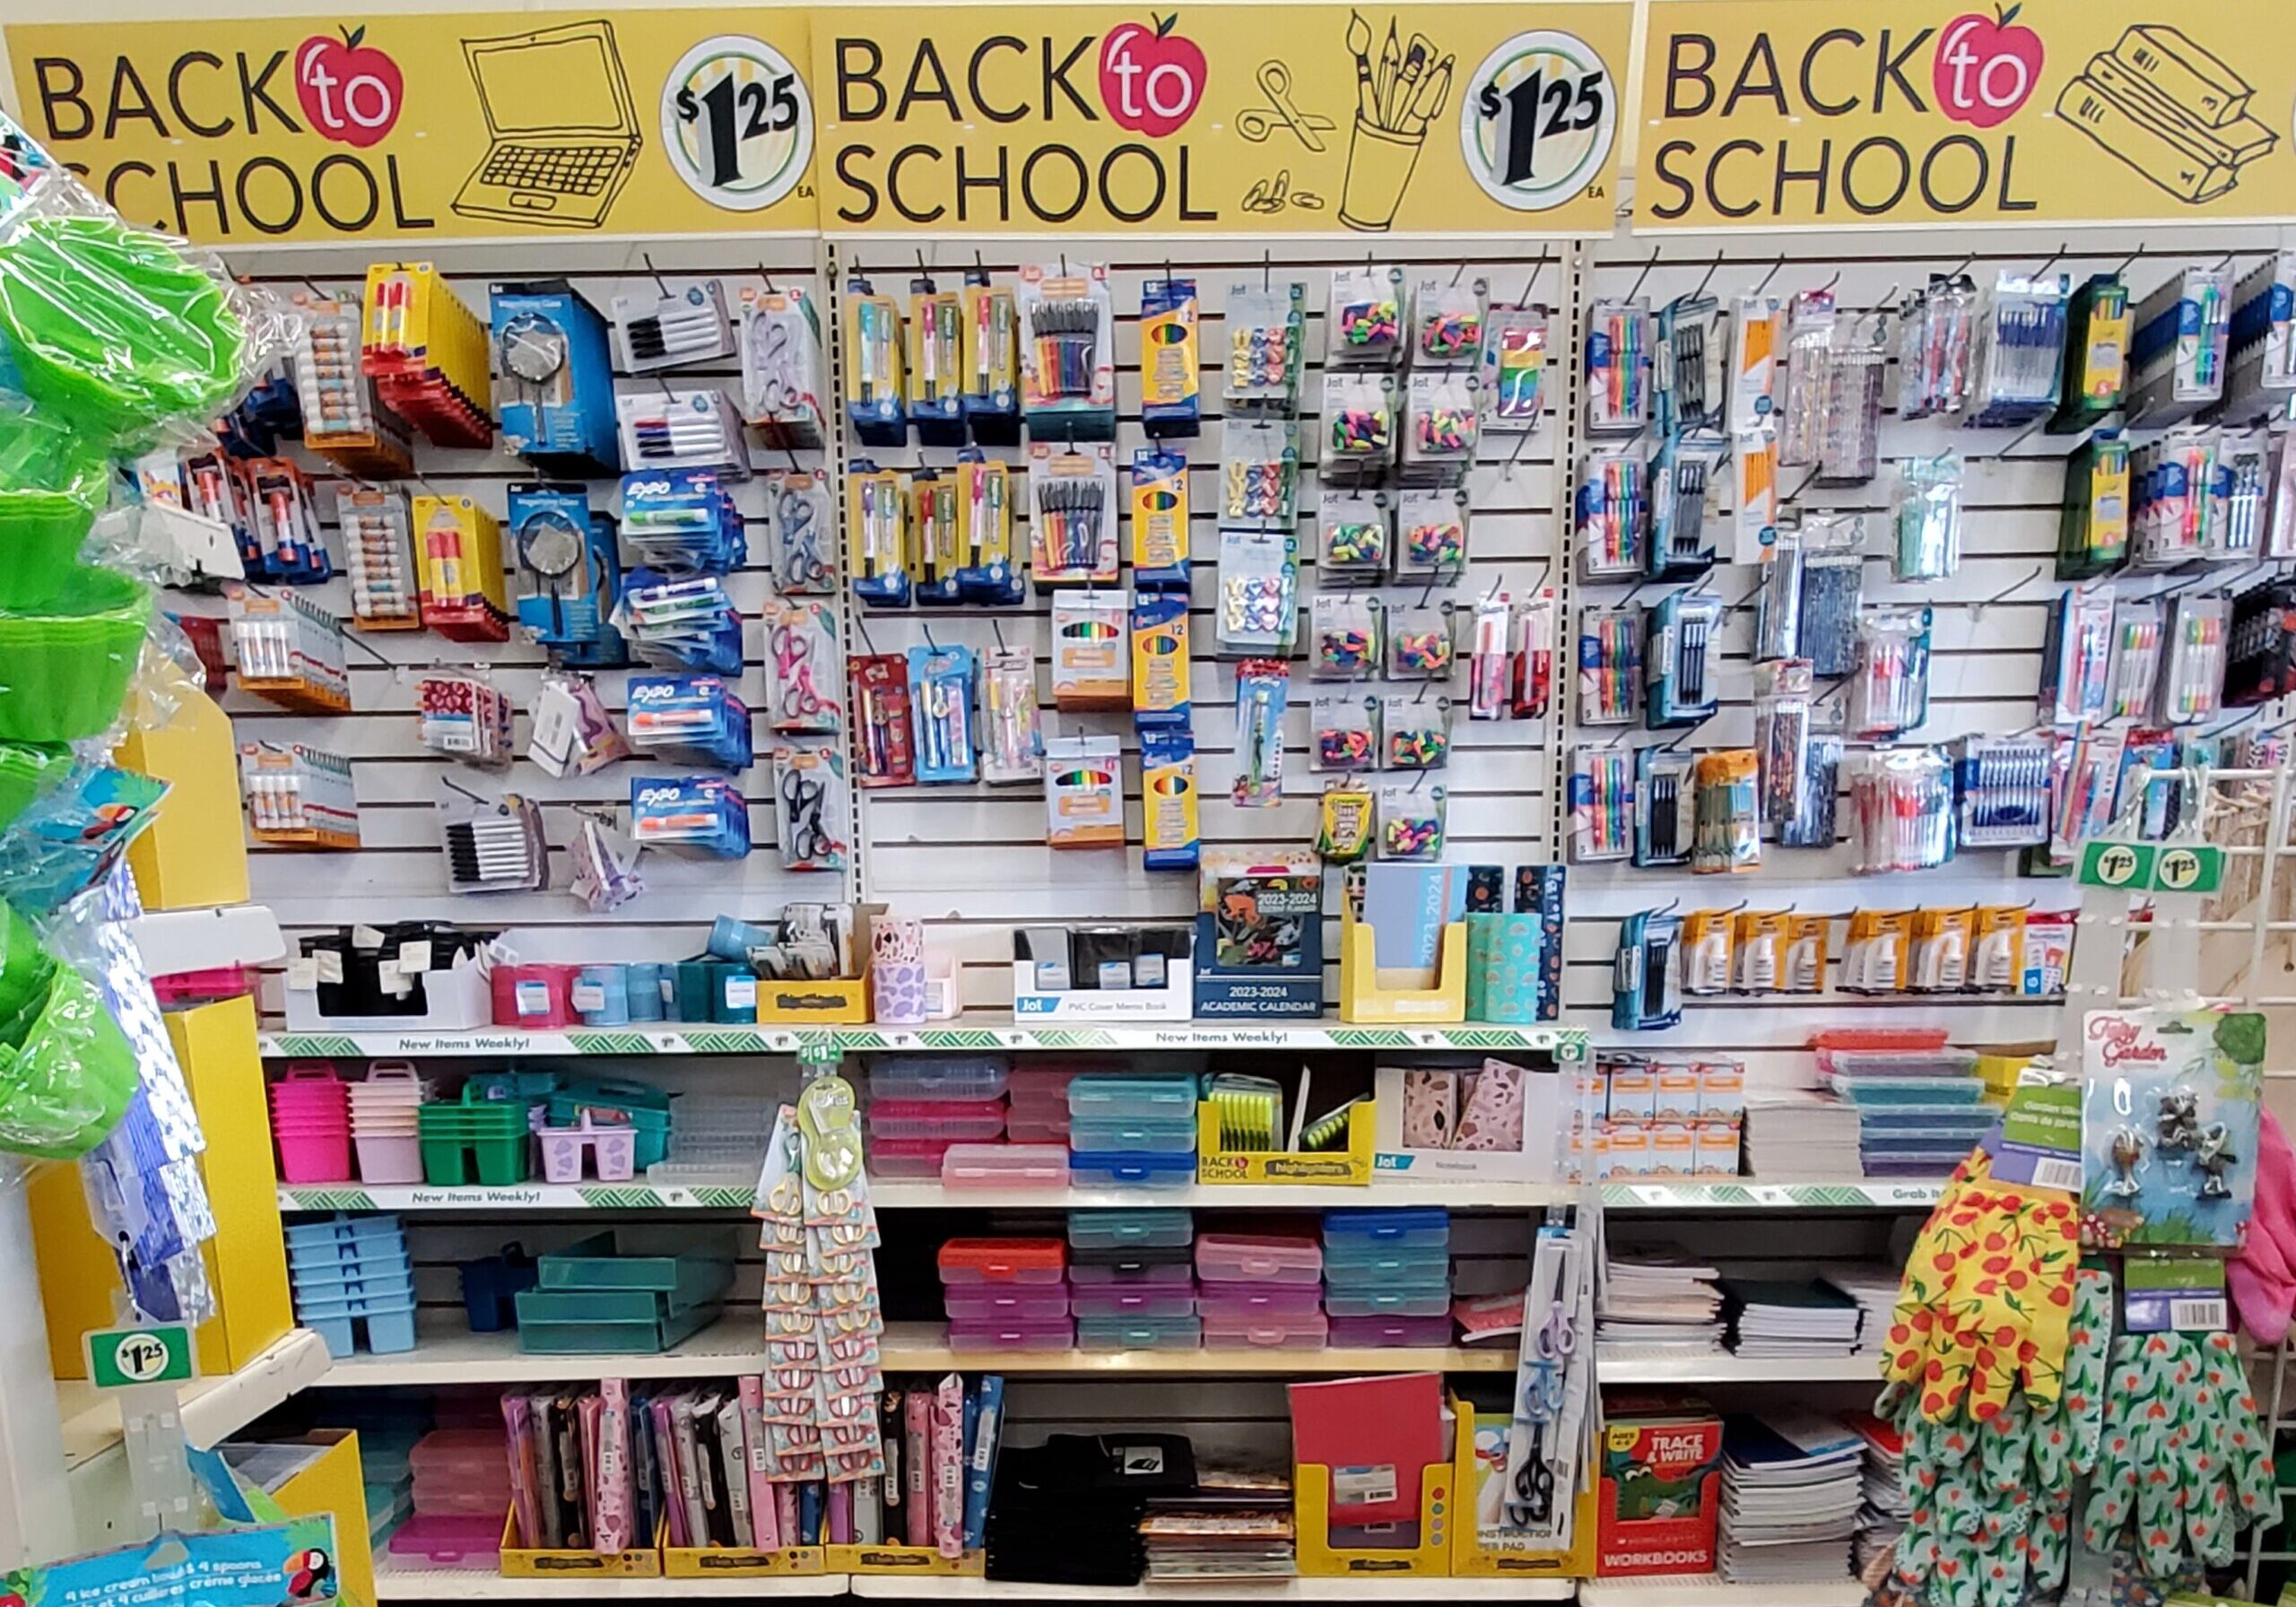
Back to school signs are everywhere.  I love these signs! They give me full permission to splurge on school supplies I like, both practical and impractical. Some I need and some just because they make me feel happy. Anyone else feel the same way?

Keep writing in view!  

Let’s talk about teaching writing to our students in grades 3-5. We know that the school year is going to be very busy, hectic, and maybe a little bit crazy. As we venture into the new school year, let’s decide to keep writing in view for the whole school year.

Where does the view start?

The view starts with thinking about where students will keep their big and little writing ideas. Over the years my students have always used physical writing notebooks, but for the past couple of years I have had my students create online notebooks. Both have strengths and weaknesses.

I believe that a writer’s notebook is a good place to start because as I have observed when students are given the opportunity to write self-selected topics, they’ll often say, “I don’t know what to write about!” In writing workshop students are encouraged to choose their own topics, which is great, but if they don’t know how to come up with ideas they’re lost. Before students can write anything, they need to have some ideas. They need to have writing ideas at their fingertips!

They should have their Writer’s Notebooks at their fingertips.

 I see a Writer’s notebook as . . .

  • a place to hold thinking, ideas and thoughts,
  • to try new things, a place to practice, to revisit ideas,   
  • a tool to support writing, and
  •  meaningful.

During the first week of school, I always center the first writing workshop lesson around students personalizing their individual writer’s notebook. In my next post, I will talk about how my students do this with their physical and online notebooks.

Happy Writing!